 +
+
 +
+

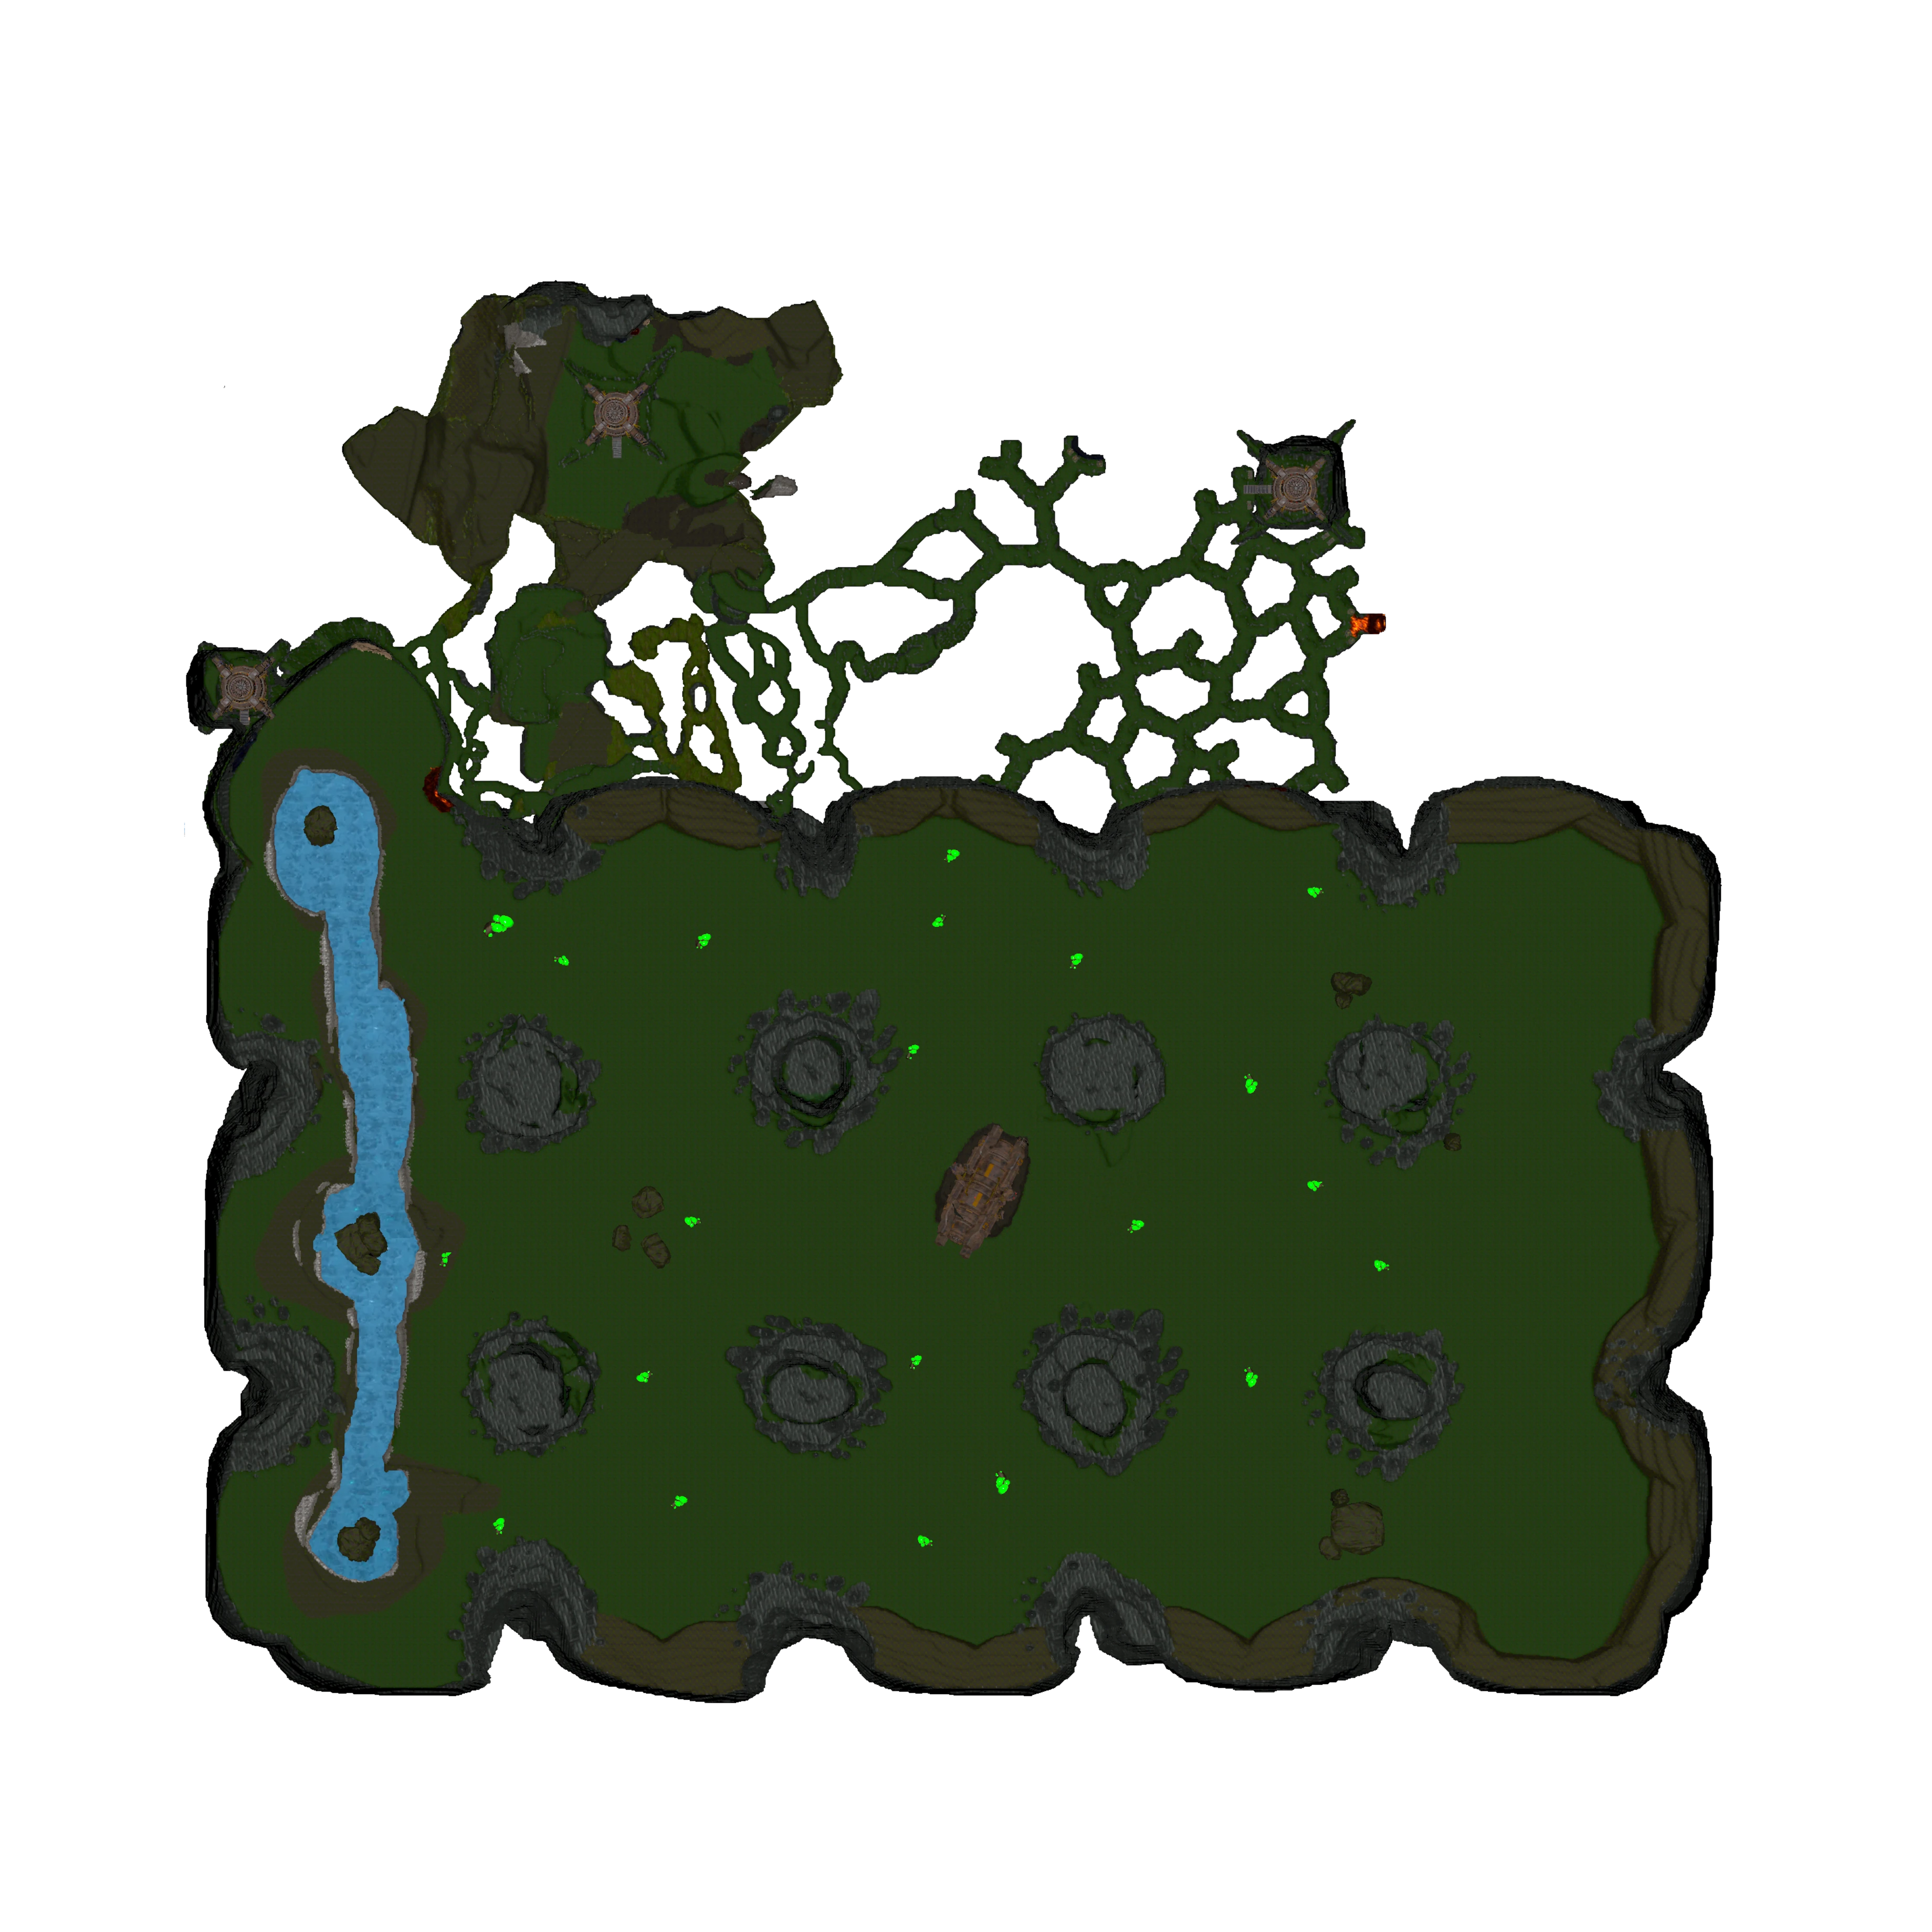
 Name: Mining Drill (X220/Y57) content_copy
Scans needed: 0
Techtree: Terraforming
Terminal Lima Tier 1
Unlocked with: 5x
 Research Core 380NM (Purple)
Description:
Extracts and collects ore from metallic veins.
Name: Mining Drill (X95/Y137) content_copyScans needed: 0
Techtree: Terraforming
Terminal Lima Tier 1
Unlocked with: 5x
Research Core 380NM (Purple)Description:
Extracts and collects ore from metallic veins.
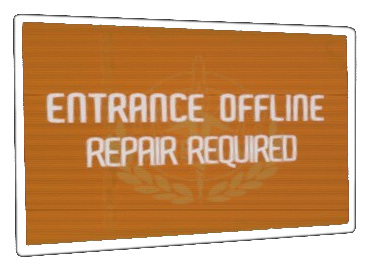 Name: Door Dummy (X-410/Y350) content_copy
Location: Cryo Chamber
Requirements: