| Function | How to use | Explanation |
|
|
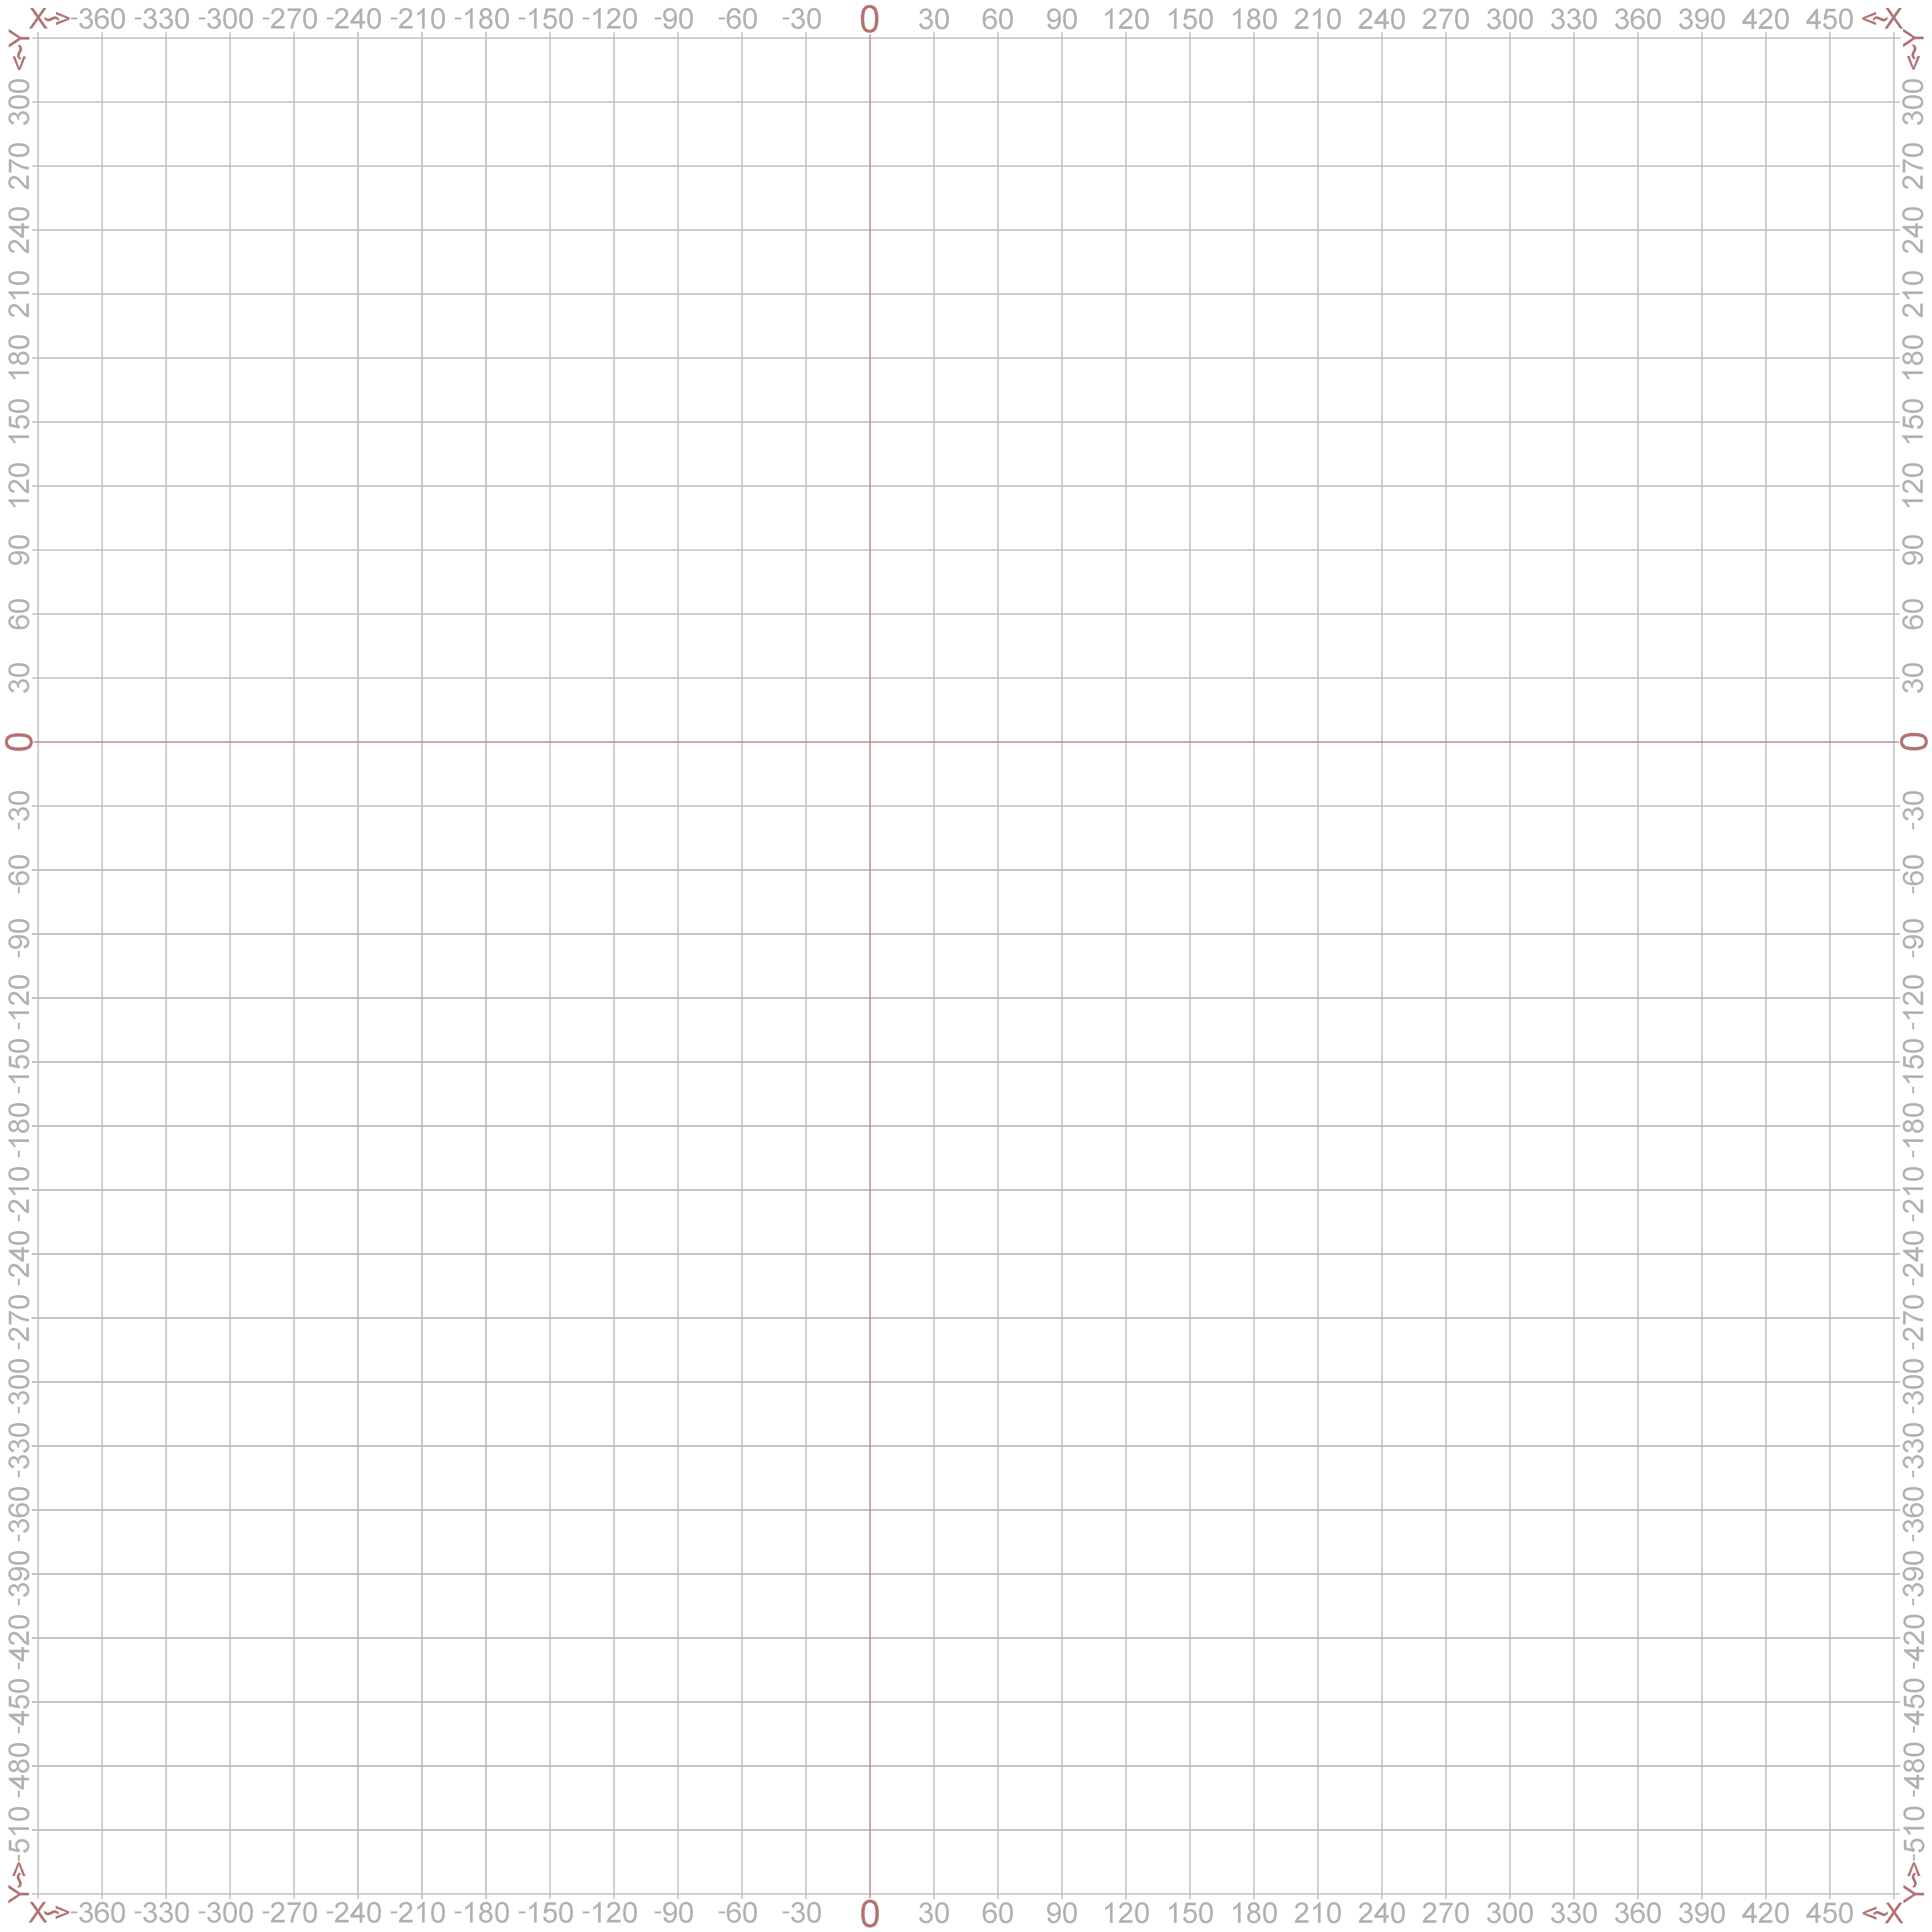
Move the Map
|
 + +
|
Press and hold the Left Mousebotton inside the map and move the mouse to move the map
|
|
|
Zoom the Map
|
 + +
|
Use the Mouswheel to zoom in/out on the map at the position of the Mousecursor
|
|
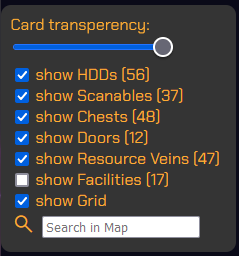
Set Filters /
Change Transperency
|
|
Use the menue on the left side of the map to change the visibility of content on the map or to change the transperency of the map-background
|
|
|
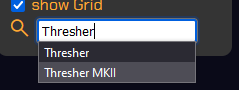
Search in Map
|
|
Use the menue on the left side of the map to search for content. Enter your search-criteria and select one of the suggested entrys
|
|
|
Show Details in Map
|
|
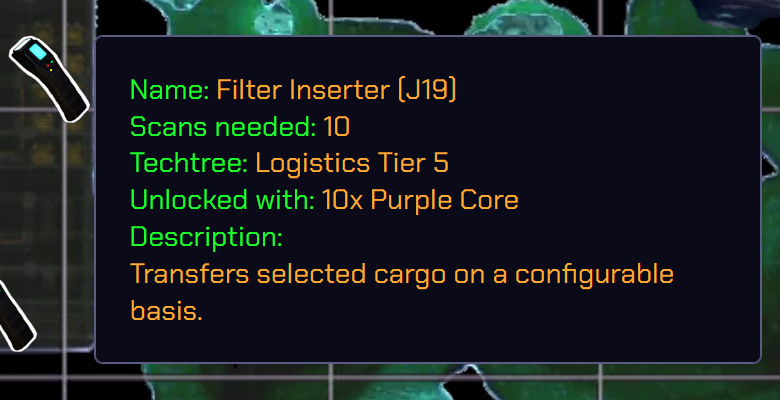
Hover with the mouse-cursor over any symbol on the map to get additional informations about the selected element.
|
|

 Name: Door Dummy (X-403/Y343) content_copy
 Name: Andrii's Home (X-311/Y-395)