| label_important | Spielinhalte | label_important | Spielleitfaden |
Tutorial - Terminal Lima [Strata 1]
Terminal Lima 1: 10x 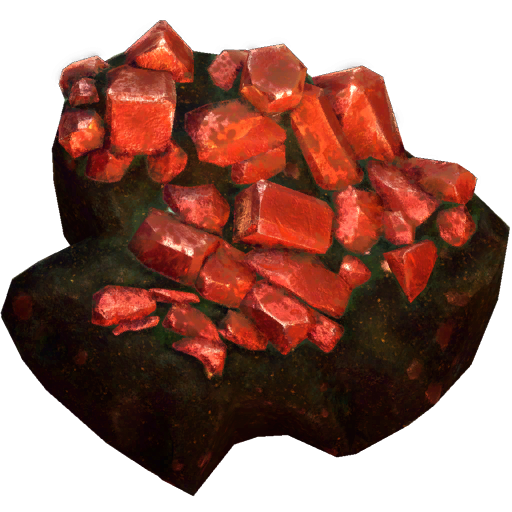 KupfererzNo Ingredients 10x
 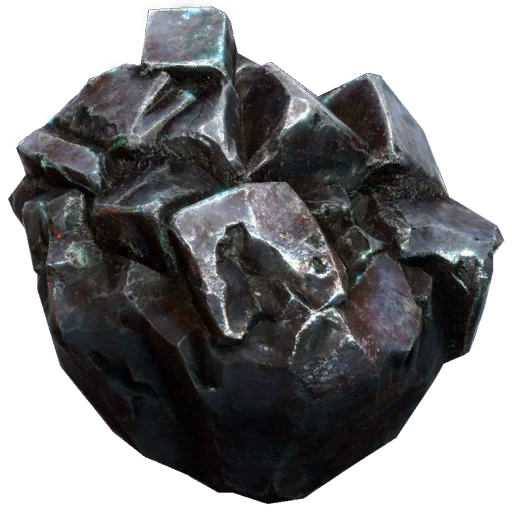 EisenerzNo Ingredients
Terminal Lima 2: 5x KupferbarrenIngredients:
2x Kupfererz
5x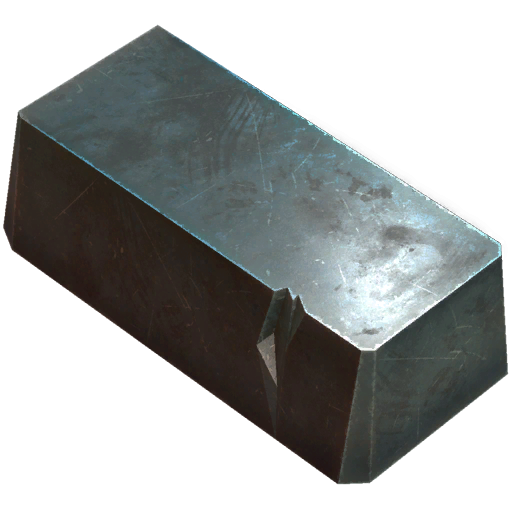 EisenbarrenIngredients:
2x Eisenerz
Terminal Lima 3: 10x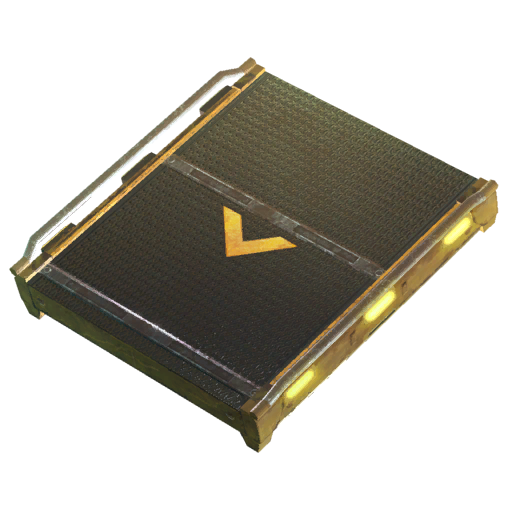 FörderbandIngredients:
3x Kupferdraht
4x Eisenbarren 2x 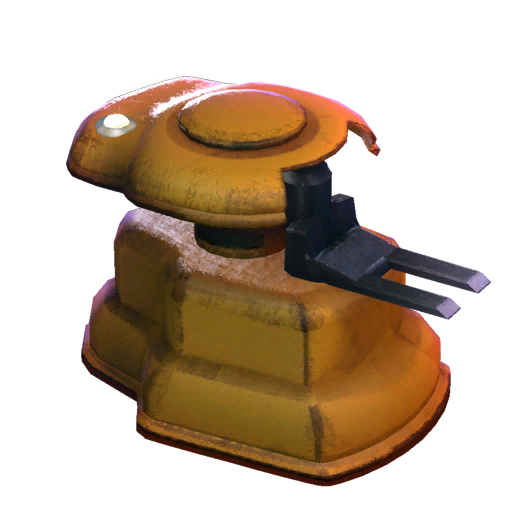 GreifarmIngredients:
1x Mechanische Bauteile
Strata 2 Requirement: 24m, 12x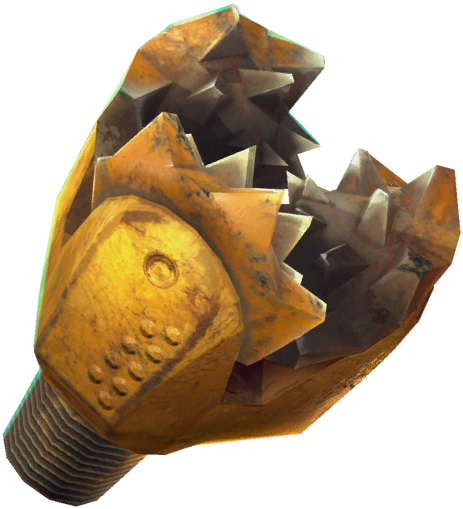 Bohrkopf IIngredients:
4x Eisenbarren
8x Kupferbarren
KupfererzNo Ingredients 10x EisenerzNo Ingredients Terminal Lima 2: 5x
KupferbarrenIngredients:2x
Kupfererz5x
EisenbarrenIngredients:2x
EisenerzTerminal Lima 3: 10x
FörderbandIngredients:3x
Kupferdraht4x
Eisenbarren 2x GreifarmIngredients:1x
Mechanische BauteileStrata 2 Requirement: 24m, 12x
Bohrkopf IIngredients:4x
Eisenbarren8x
Kupferbarren
| 1.1 content_copy |
At the start of the game, you are on Strata 1 and facing Production Terminal Lima. I recommend to follow the steps in game as this section is fairly self explanatory. As a quick reminder, 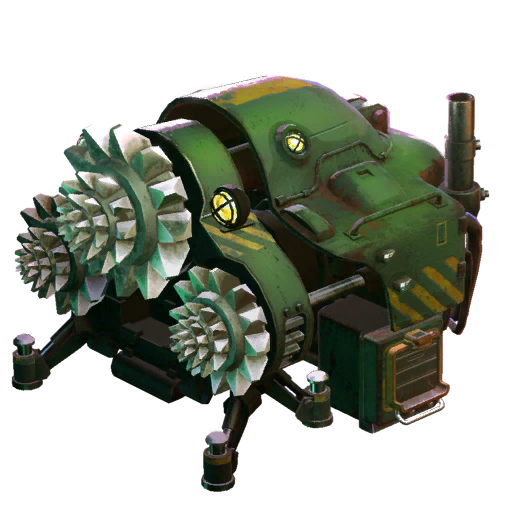 ErzfördererIngredients: ErzfördererIngredients:3x 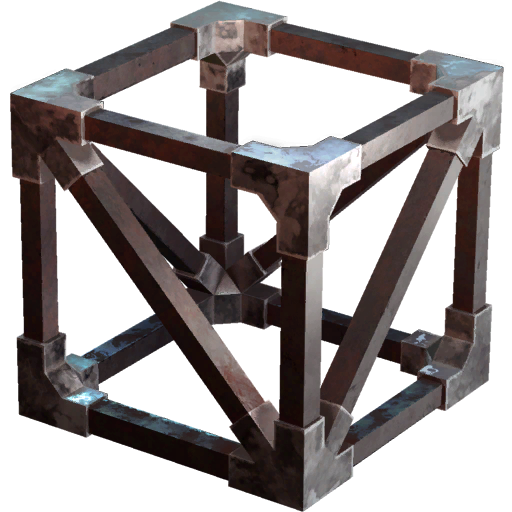 Eisenrahmen Eisenrahmen20x 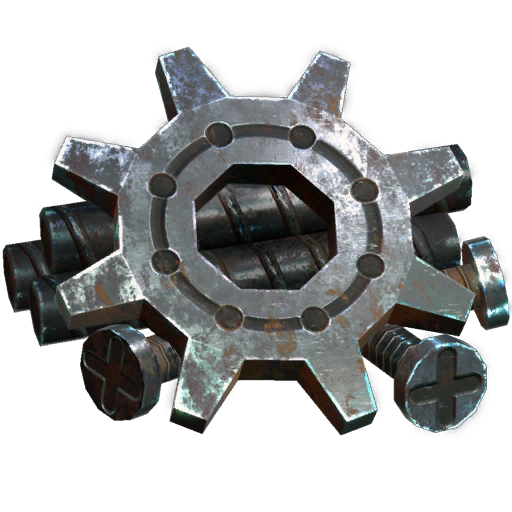 Eisenkomponenten are used to extract resources from veins and these can be smelted, using the Eisenkomponenten are used to extract resources from veins and these can be smelted, using the 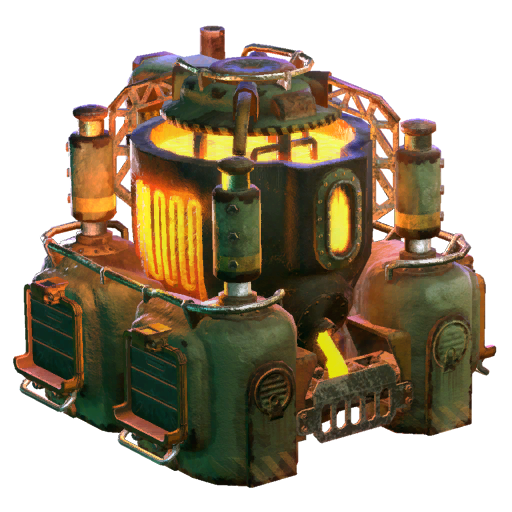 SchmelzofenIngredients: SchmelzofenIngredients:15x  Kupferkomponenten Kupferkomponenten96x  Kalkstein, into ingots. Kalkstein, into ingots.These are essential to craft FörderbandIngredients:3x Kupferdraht4x Eisenbarren and GreifarmIngredients:1x Mechanische Bauteile. |
 Click Image to enlarge |
| 1.2 content_copy |
All machines in Techtonica have ports which the GreifarmIngredients: 1x Mechanische Bauteiles must be connected to so that you can transfer items. Once you have finished the tutorial, go ahead and craft the required Bohrkopf IIngredients:4x Eisenbarren8x Kupferbarren and insert them into the purple port on the Elevator to unlock Strata 2 - Terminal Victor. |
|
| 1.3 content_copy |
To find the optimal ratio for drills to smelters, you can use the "lowest common multiple" (LCM) method. As an example, if mining drills produce ore at 15/min and smelters can process 20/min. The LCM is 60 which means a ratio of 4 drills : 3 smelters would be optimal. |
First Factory - Terminal Victor [Strata 2]
Terminal Victor 1: 2x 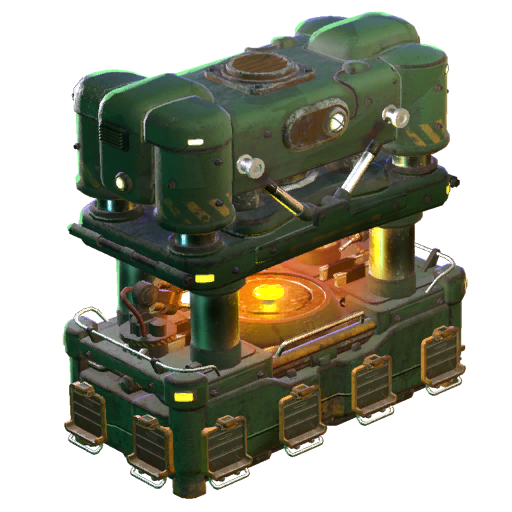 MontagemaschineIngredients:
2x Eisenrahmen
2x Greifarm 2x 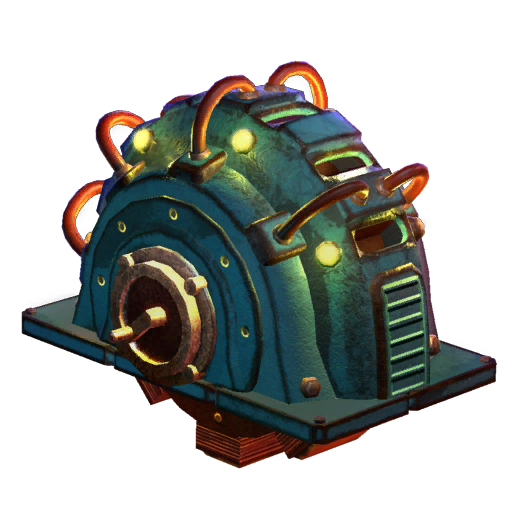 KurbelgeneratorIngredients:
4x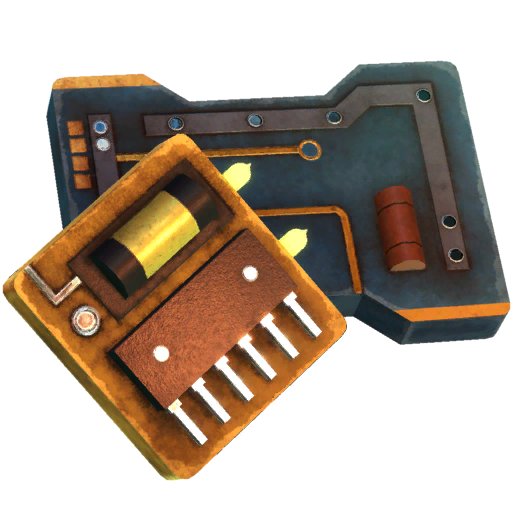 Elektrische Bauteile
8x Kupferkomponenten
Strata 3 Requirement: 74m (+50m), 25x Bohrkopf IIngredients:
4x Eisenbarren
8x Kupferbarren
MontagemaschineIngredients:2x
Eisenrahmen2x
Greifarm 2x KurbelgeneratorIngredients:4x
Elektrische Bauteile8x
Kupferkomponenten Strata 3 Requirement: 74m (+50m), 25x
Bohrkopf IIngredients:4x
Eisenbarren8x
Kupferbarren
|
2.1 content_copy
|
This is where the real game begins, although the early levels still somewhat act as tutorials. To start with, take a look around this floor you will see two new machines you can scan - MontagemaschineIngredients:2x Eisenrahmen2x Greifarm and KurbelgeneratorIngredients:4x Elektrische Bauteile8x Kupferkomponentens .Not only will MontagemaschineIngredients:2x Eisenrahmen2x Greifarms automatically craft items for you, they all produce double the amount for the same amount of input-resouces.This means the same recipe to produce 8 Mechanische BauteileIngredients:2x Kupferbarren2x Eisenbarrens will produce 16 with the MontagemaschineIngredients:2x Eisenrahmen2x Greifarm!This goes without saying but you should ensure that all your crafting from here onwards is done with the MontagemaschineIngredients:2x Eisenrahmen2x Greifarm.Unfortunately, you need electricity to run MontagemaschineIngredients:2x Eisenrahmen2x Greifarms but you can solve this with the KurbelgeneratorIngredients:4x Elektrische Bauteile8x Kupferkomponentens.You can manually activate the KurbelgeneratorIngredients:4x Elektrische Bauteile8x Kupferkomponenten to produce power for 10 minutes and this can later be upgraded to 60 minutes.At the Terminal itself, you will see a 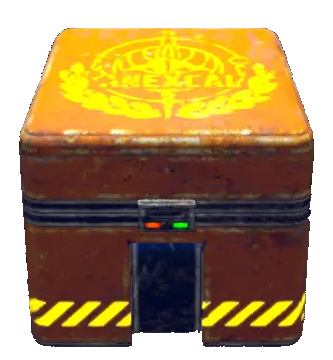 S02-02Content: S02-02Content:80x  Kalzit-Säule (1x5) Kalzit-Säule (1x5)80x  Kalzit Plattform (3x3) Kalzit Plattform (3x3)60x  Kalzit Plattform (5x5) Kalzit Plattform (5x5)4x  Behälter Behälter200x Förderband6x Erzförderer20x 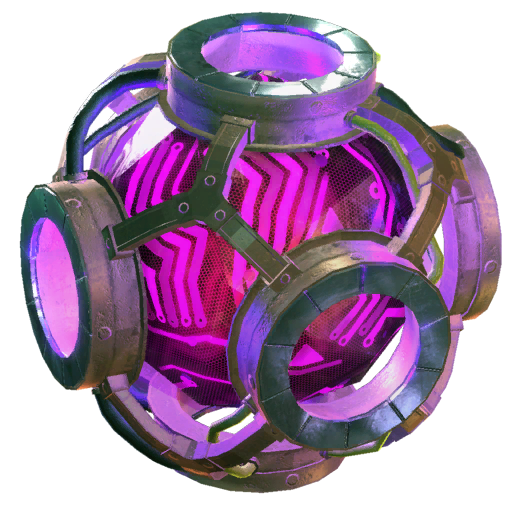 Forschungskern 380mm (pink) Forschungskern 380mm (pink)80x 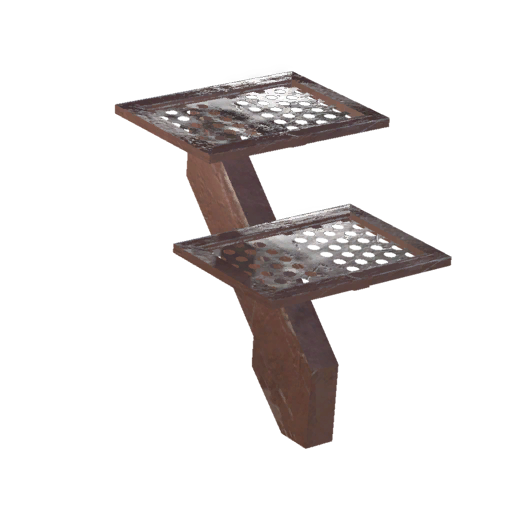 Treppe with "base building" components which can be used to transfer power. Treppe with "base building" components which can be used to transfer power.
|
 Click Image to enlarge |
| 2.2 content_copy |
You now have the required tools to set up your first real factory. There are three main objectives at this point and they can be done in any order. |
|
| 2.3 content_copy |
Goal 1: Your first goal is to set up a production "mall" for GreifarmIngredients: 1x Mechanische Bauteiles, FörderbandIngredients:3x Kupferdraht4x Eisenbarrens, and other machines.I would recommend doing this task first as it means you will have enough items for the next two tasks. Please note that for GreifarmIngredients:1x Mechanische Bauteiles, you will have four main types for most of the early game so bear this in mind with your layout. |
|
| 2.4 content_copy |
Goal 2: The next task is to automate production of Bohrkopf IIngredients: 4x Eisenbarren8x Kupferbarren.This is an essential objective as you will need to keep moving up the elevator in order to unlock new technology. In fact, there is a very important upgrade immediately on the next floor that you should be aiming for. You may have noticed by now your drills and smelters are running low on fuel. Strata 3 will solve those issues. I would always try to prioritise elevator progress over production terminals as the elevator goals take a lot longer. |
|
| 2.5 content_copy |
Goal 3: Finally, you will need to automate production of Forschungskern 380mm (pink)Ingredients: 4x Kupferdraht6x Mechanische Bauteile.Initially, you will need to place them manually to unlock research but later on we can automate this. Every time you complete the technology for a Terminal Victor tier, start working on the goal to upgrade (unless there is a really good research on the next tiers). |
Exploring the Warehouse [Strata 3]
Terminal Victor 2: 6x 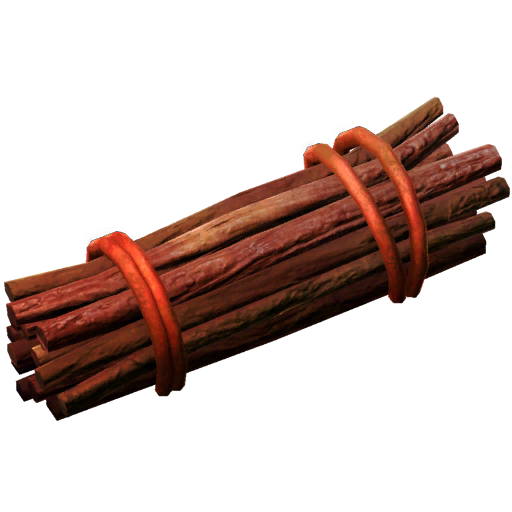 ZündrebenstängelNo Ingredients 1x
 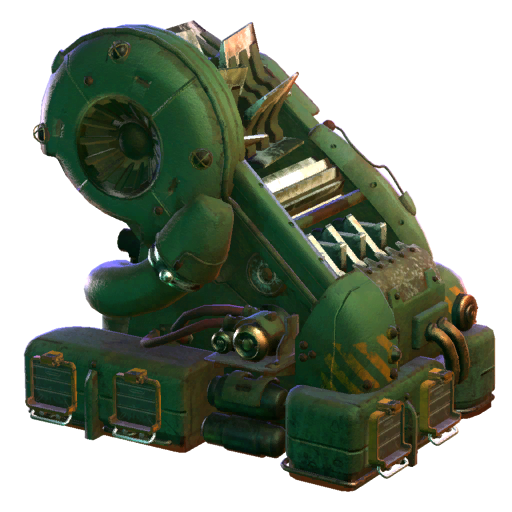 DrescherIngredients:
5x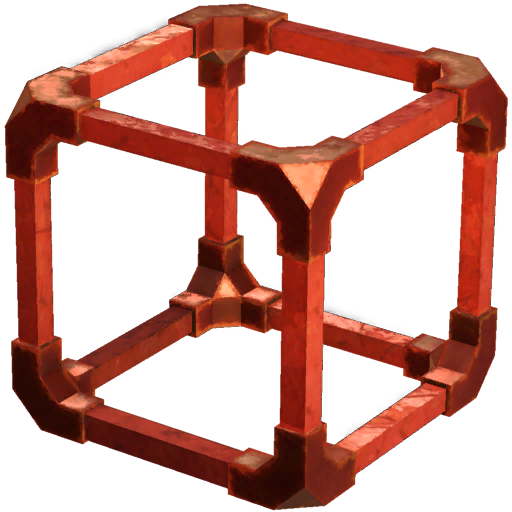 Kupferrahmen
5x Eisenkomponenten
5x Mechanische Bauteile
Strata 4 Requirement: 474m (+400m), 200x Bohrkopf IIngredients:
4x Eisenbarren
8x Kupferbarren / 40x 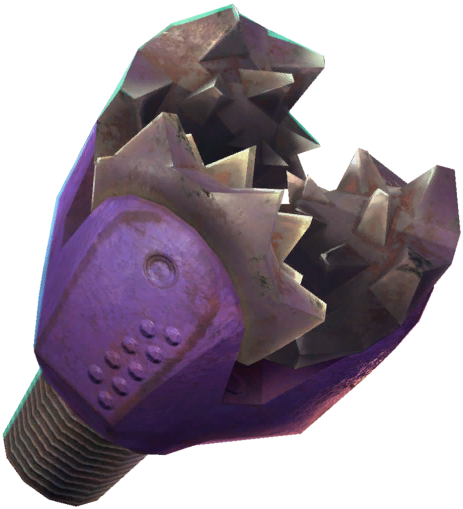 Bohrkopf IIIngredients:
1x Bohrkopf I
2x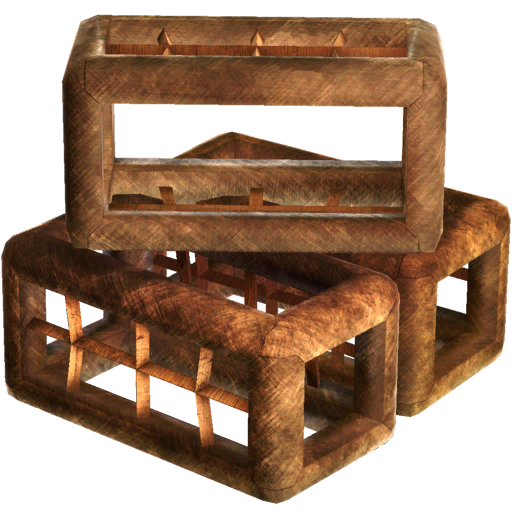 Rahmen aus Pflanzenmaterial
2x Erzförderer
ZündrebenstängelNo Ingredients 1x DrescherIngredients:5x
Kupferrahmen5x
Eisenkomponenten5x
Mechanische Bauteile Strata 4 Requirement: 474m (+400m), 200x
Bohrkopf IIngredients:4x
Eisenbarren8x
Kupferbarren / 40x Bohrkopf IIIngredients:1x
Bohrkopf I2x
Rahmen aus Pflanzenmaterial2x
Erzförderer
| 3.1 content_copy |
On Strata 3, you will unlock 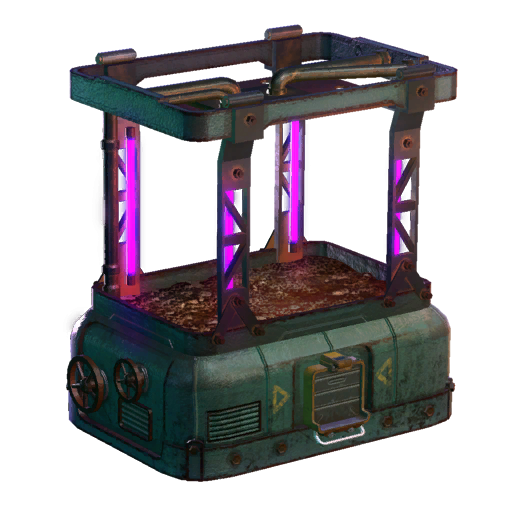 PflanzerIngredients: PflanzerIngredients:2x Eisenkomponenten8x 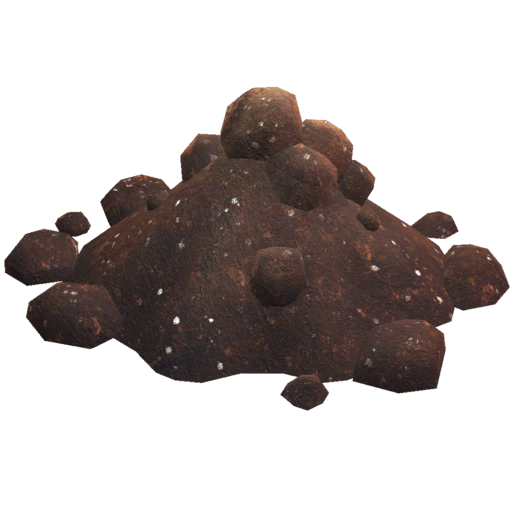 Schmutz Schmutz8x Elektrische Bauteiles and DrescherIngredients:5x Kupferrahmen5x Eisenkomponenten5x Mechanische Bauteiles.This two machines will allow you to automate fuel production which will allow you to breathe for a little while. During your exploration, you may have noticed yellow and blue plants growing which give  ZündrebenIngredients: ZündrebenIngredients:4x  Zündrebensamen Zündrebensamenand 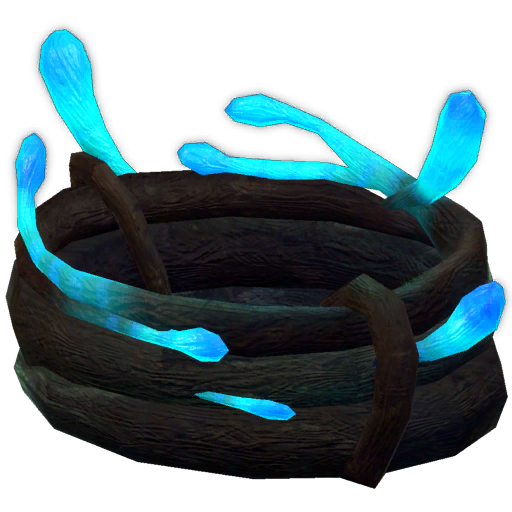 ZitterdornIngredients: ZitterdornIngredients:4x  Zitterdornsamen Zitterdornsamen. These are plants you can actually farm in the game but first you need thresh them to produce the seeds. By this point you may have already unlocked shiverthorn processing but I would focus on kindlevine to start with. You will also unlock 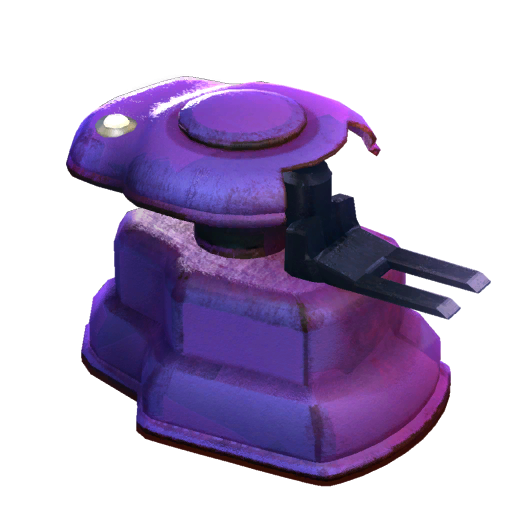 FiltergreifarmIngredients: FiltergreifarmIngredients:2x Greifarm8x Elektrische Bauteiles (which only transport one selected item) and 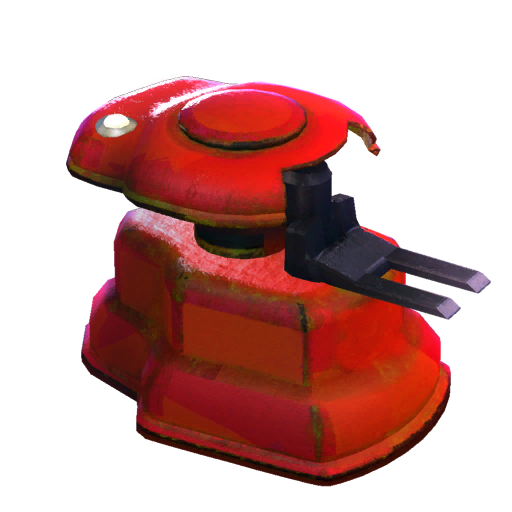 Schneller GreifarmIngredients: Schneller GreifarmIngredients:2x Greifarm16x  Zündrebenextrakt. Zündrebenextrakt.
|
 Click Image to enlarge |
| 3.2 content_copy |
DrescherIngredients: 5x Kupferrahmen5x Eisenkomponenten5x Mechanische Bauteiles can process 10 ZündrebenIngredients:4x Zündrebensamenplants per minute. Each PflanzerIngredients:2x Eisenkomponenten8x Schmutz8x Elektrische Bauteile can grow up to 4 ZündrebensamenNo Ingredientss with a lifecycle of 240 seconds each.This works out as about 1 crop per minute on average and so you need a ratio of 10 PflanzerIngredients:2x Eisenkomponenten8x Schmutz8x Elektrische Bauteiles for every 1 DrescherIngredients:5x Kupferrahmen5x Eisenkomponenten5x Mechanische Bauteile.I would strongly recommend building a belt balancer to ensure the seeds produced by the DrescherIngredients:5x Kupferrahmen5x Eisenkomponenten5x Mechanische Bauteile are split equally.The DrescherIngredients:5x Kupferrahmen5x Eisenkomponenten5x Mechanische Bauteile also produces ZündrebenstängelNo Ingredients which are very useful for fuel at this point.Since this machine produces two outputs this is where you need to use the FiltergreifarmIngredients:2x Greifarm8x Elektrische Bauteiles.
|
|
| 3.3 content_copy |
Speaking of filter inserters, eagle eyed readers may have spotted some just outside the elevator on Strata 2. This is the game's way of showing you the best way to use the elevator. You can feed items into the elevator with any inserter and send them to another floor but to take items out, you should use filter inserters to control the output. Please note that for any given floor, the elevator will only hold a stack of each item so each floor technically has a storage limit. To have a larger output buffer, you should use storage containers which can be placed directly next to each other. |
|
| 3.4 content_copy |
By this point, we should now have drills set up with an automated fuel supply. If you want to, I would highly recommend a dedicated floor (probably Lima) to produce drill bits. Each drill bit always requires the previous tier, plus two extra items so it is actually very easy to set up a production line that can be upgraded for the next tier. Eventually, you will have to upgrade your production anyway as you won't be able to use Mk 1 drill bits forever. Go ahead and unlock Strata 4 with the newly unlocked Bohrkopf IIIngredients:1x Bohrkopf I2x Rahmen aus Pflanzenmaterial2x Erzförderers.
|
Unlimited Power in Hydro-Station [Strata 4]
Terminal Victor 3: 1x 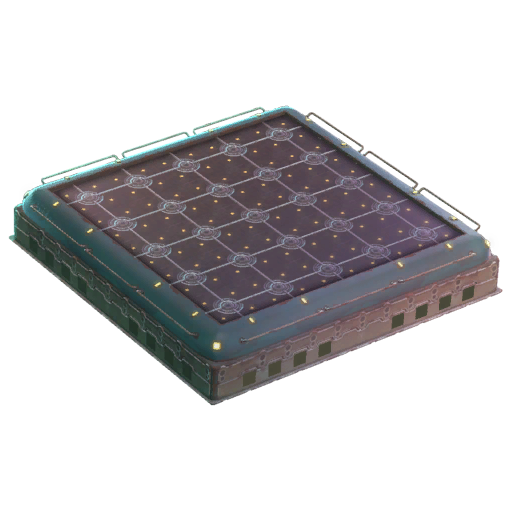 KernplatziererIngredients:
10x Mechanische Bauteile
20x Eisenrahmen
50x Elektrische Bauteile 5x 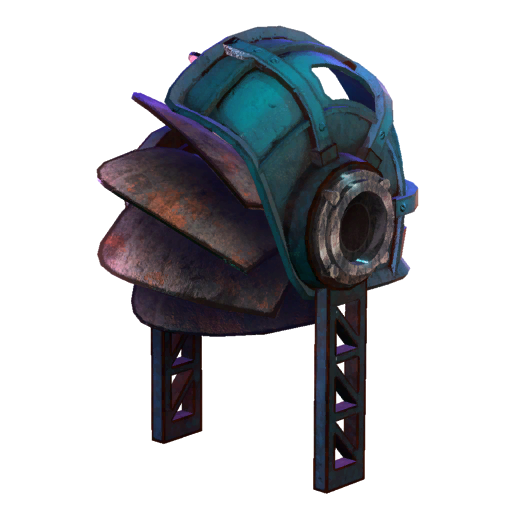 WasserradIngredients:
2x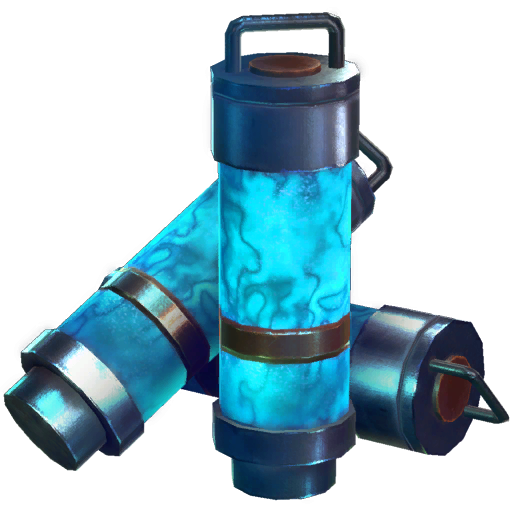 Zitterdornextrakt
8x Eisenrahmen
32x Mechanische Bauteile
Strata 5 Requirement: 624m (+150m), 75x Bohrkopf IIngredients:
4x Eisenbarren
8x Kupferbarren / 15x Bohrkopf IIIngredients:
1x Bohrkopf I
2x Rahmen aus Pflanzenmaterial
2x Erzförderer / 3x 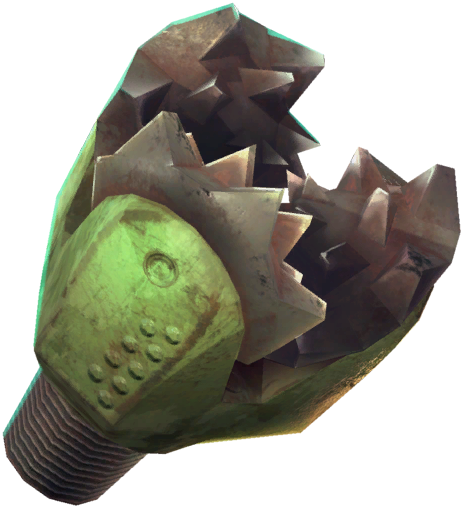 Bohrkopf IIIIngredients:
1x Bohrkopf II
2x Montagemaschine
4x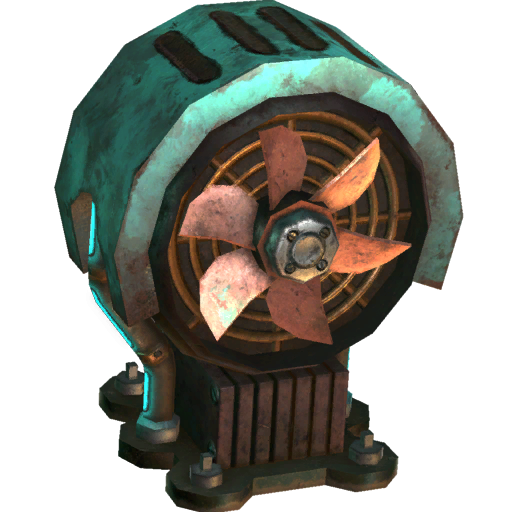 Kühlsystem
Strata 6 Requirement: 924m (+300m), 150x Bohrkopf IIngredients:
Kühlsystem
Strata 6 Requirement: 924m (+300m), 150x Bohrkopf IIngredients:
4x Eisenbarren
8x Kupferbarren / 30x Bohrkopf IIIngredients:
1x Bohrkopf I
2x Rahmen aus Pflanzenmaterial
2x Erzförderer / 6x Bohrkopf IIIIngredients:
1x Bohrkopf II
2x Montagemaschine
4x Kühlsystem
KernplatziererIngredients:10x
Mechanische Bauteile20x
Eisenrahmen50x
Elektrische Bauteile 5x WasserradIngredients:2x
Zitterdornextrakt8x
Eisenrahmen32x
Mechanische Bauteile Strata 5 Requirement: 624m (+150m), 75x
Bohrkopf IIngredients:4x
Eisenbarren8x
Kupferbarren / 15x Bohrkopf IIIngredients:1x
Bohrkopf I2x
Rahmen aus Pflanzenmaterial2x
Erzförderer / 3x Bohrkopf IIIIngredients:1x
Bohrkopf II2x
Montagemaschine4x
Kühlsystem
Strata 6 Requirement: 924m (+300m), 150x Bohrkopf IIngredients:4x
Eisenbarren8x
Kupferbarren / 30x Bohrkopf IIIngredients:1x
Bohrkopf I2x
Rahmen aus Pflanzenmaterial2x
Erzförderer / 6x Bohrkopf IIIIngredients:1x
Bohrkopf II2x
Montagemaschine4x
Kühlsystem
| 4.1 content_copy |
On this floor, you will unlock WasserradIngredients: 2x Zitterdornextrakt8x Eisenrahmen32x Mechanische Bauteiles.These can be used to automate power production so you don't need to press a KurbelgeneratorIngredients:4x Elektrische Bauteile8x Kupferkomponenten again!You will need the KurbelgeneratorIngredients:4x Elektrische Bauteile8x Kupferkomponenten technology to make this work and you can connect up to 10 KurbelgeneratorIngredients:4x Elektrische Bauteile8x Kupferkomponentens to 1 WasserradIngredients:2x Zitterdornextrakt8x Eisenrahmen32x Mechanische Bauteile before the efficiency starts to drop.If you haven't done so far, you should automate KurbelgeneratorIngredients:4x Elektrische Bauteile8x Kupferkomponenten production along with WasserradIngredients:2x Zitterdornextrakt8x Eisenrahmen32x Mechanische Bauteiles.From here onwards, make sure to increase water power production continuously. |
 Click Image to enlarge |
| 4.2 content_copy |
By now you may have upgraded Production Terminal Victor. I would recommend unlocking and placing your first KernplatziererIngredients:10x Mechanische Bauteile20x Eisenrahmen50x Elektrische Bauteile to start automating core placement.Most of the construction technology is focused on base building and is optional, though it is very fun to use those items. |
|
| 4.3 content_copy |
I would also recommend the 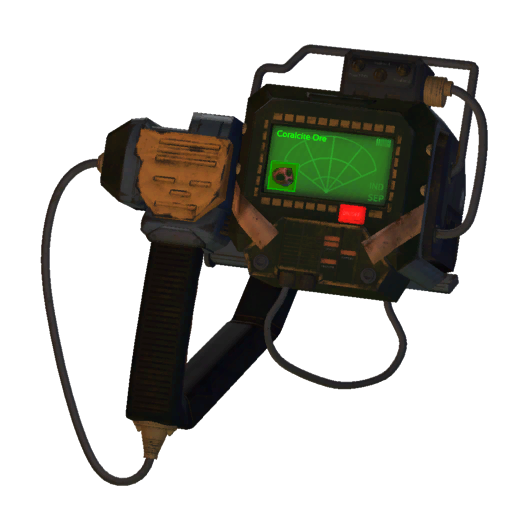 OmniscannerIngredients: OmniscannerIngredients:1x Eisenkomponenten2x  Scanner Scanner4x 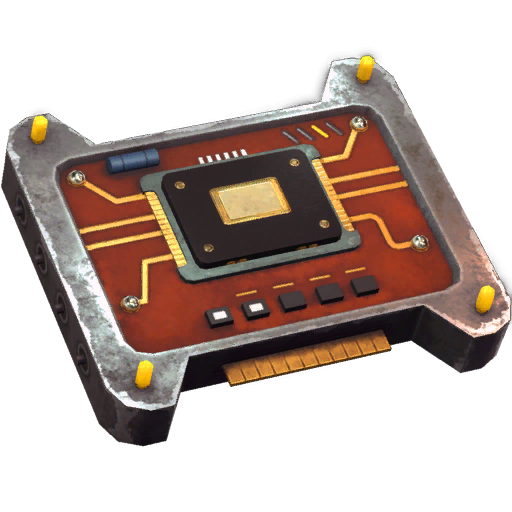 Prozessoreinheit - this tool can locate ore veins that a far away and improve your production rates. Prozessoreinheit - this tool can locate ore veins that a far away and improve your production rates.To be able to reach these locations, I would recommend using the monorail for logistics. One way to do this is to supply your fuel at a 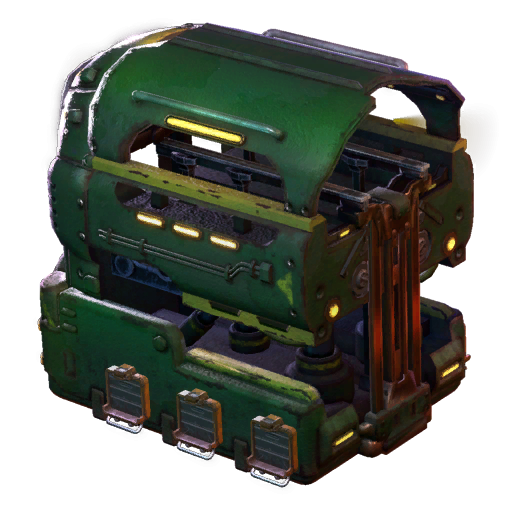 Monorail-StationIngredients: Monorail-StationIngredients:4x Eisenrahmen16x Zündrebenextraktnear the elevator and send it to the ore vein. At the vein, use the fuel for ErzfördererIngredients:3x Eisenrahmen20x Eisenkomponentens and SchmelzofenIngredients:15x Kupferkomponenten96x Kalksteins and return the ingots.You cannot have a rail route with multiple stops so you will need to create Monorail-StationIngredients:4x Eisenrahmen16x Zündrebenextrakts for each vein. To be able to connect power, I would recommend using the 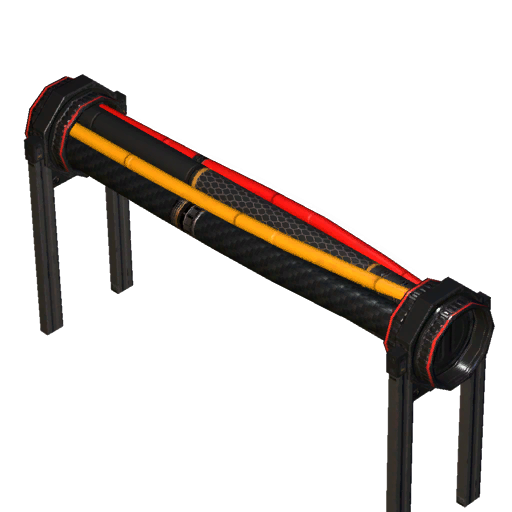 HochspannungskabelIngredients: HochspannungskabelIngredients:4x Kupferdraht4x Rahmen aus Pflanzenmaterial together with 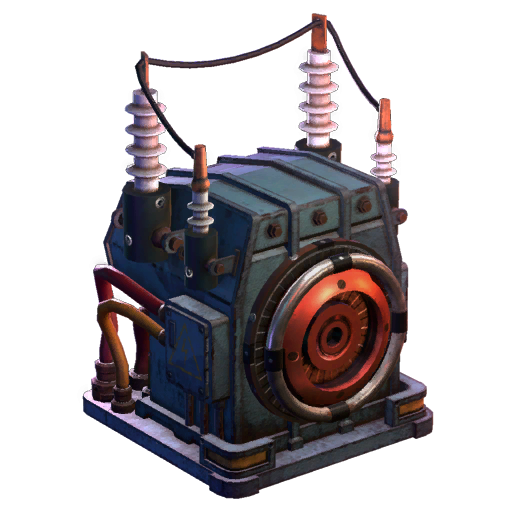 TransformatorIngredients: TransformatorIngredients:2x Eisenrahmen2x Prozessoreinheit2x 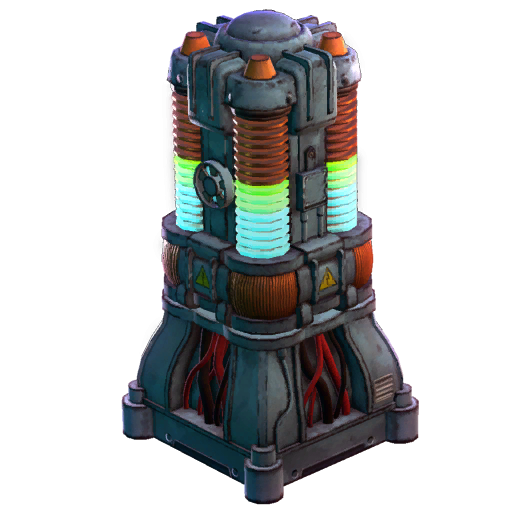 Akkumulators as it would be very expensive to connect power with base building pieces. Akkumulators as it would be very expensive to connect power with base building pieces.Strata 3 and 4 are places you might want to set up rails but have a look around the other floors too. |
|
| 4.4 content_copy |
At this point you might have already unlocked the atlantum processing tier. Unfortunately, to mine atlantum (green ore) we either 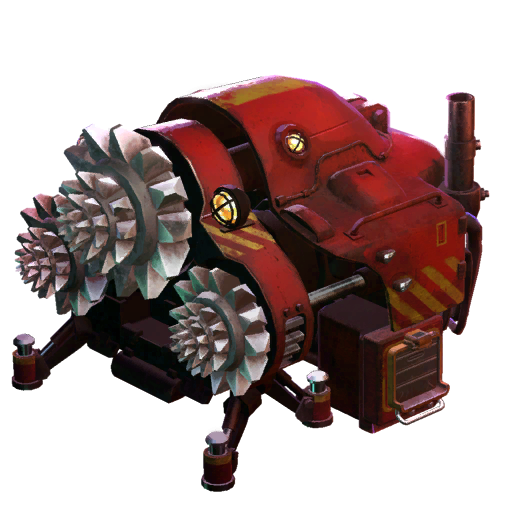 Erzförderer MKIIIngredients: Erzförderer MKIIIngredients:4x Erzförderer8x Kühlsystem10x Prozessoreinheits which we don't get until much later, or  SprengbohrerIngredients: SprengbohrerIngredients:4x 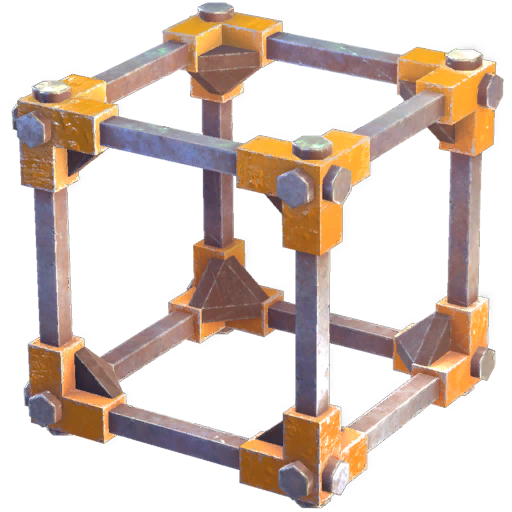 Verstärkter Eisen-Rahmen Verstärkter Eisen-Rahmen4x Erzförderer10x Prozessoreinheits which are at Production Terminal X-Ray.Go ahead and unlock X-Ray at Strata 5 and then you'll be ready for the next phase of the game. |
Blast things up - Terminal XRay [Strata 6]
Terminal XRay 1: 100x ZündrebenextraktNo Ingredients 100x  PflanzenfasernIngredients:
16x Pflanzenmaterial
Terminal XRay 2: 100x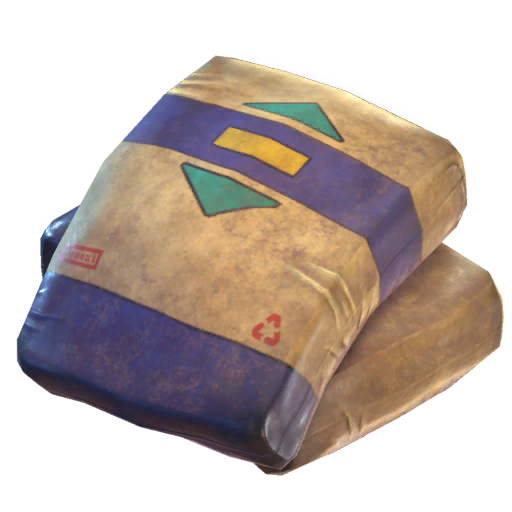 ZementIngredients:
6x Brandkalk
100x StahlbarrenIngredients:
1x Stahlplatten
Terminal XRay 3: 10x SprengbohrerIngredients:
4x Verstärkter Eisen-Rahmen
4x Erzförderer
10x Prozessoreinheit 40x  BergbauladungIngredients:
2x Zündrebenextrakt
2x Pflanzenfasern
2x Zitterdornextrakt
Terminal Victor 4: 320x Akkumulator-LadungNo Ingredients 50x BergbauladungIngredients:
2x Zündrebenextrakt
2x Pflanzenfasern
2x Zitterdornextrakt
5x Monorail-StationIngredients:
4x Eisenrahmen
16x Zündrebenextrakt
Strata 7 Requirement: 1.924m (+1.000m), 100x Bohrkopf IIIngredients:
1x Bohrkopf I
2x Rahmen aus Pflanzenmaterial
2x Erzförderer / 20x Bohrkopf IIIIngredients:
1x Bohrkopf II
2x Montagemaschine
4x Kühlsystem
ZündrebenextraktNo Ingredients 100x PflanzenfasernIngredients:16x
Pflanzenmaterial Terminal XRay 2: 100x
ZementIngredients:6x
Brandkalk100x
StahlbarrenIngredients:1x
StahlplattenTerminal XRay 3: 10x
SprengbohrerIngredients:4x
Verstärkter Eisen-Rahmen4x
Erzförderer10x
Prozessoreinheit 40x BergbauladungIngredients:2x
Zündrebenextrakt2x
Pflanzenfasern2x
ZitterdornextraktTerminal Victor 4: 320x
Akkumulator-LadungNo Ingredients 50x BergbauladungIngredients:2x
Zündrebenextrakt2x
Pflanzenfasern2x
Zitterdornextrakt5x
Monorail-StationIngredients:4x
Eisenrahmen16x
ZündrebenextraktStrata 7 Requirement: 1.924m (+1.000m), 100x
Bohrkopf IIIngredients:1x
Bohrkopf I2x
Rahmen aus Pflanzenmaterial2x
Erzförderer / 20x Bohrkopf IIIIngredients:1x
Bohrkopf II2x
Montagemaschine4x
Kühlsystem
 Eisenerz-Pulver
 Explosions-Schmelzofen
 Verfeinerter Eisenbrocken
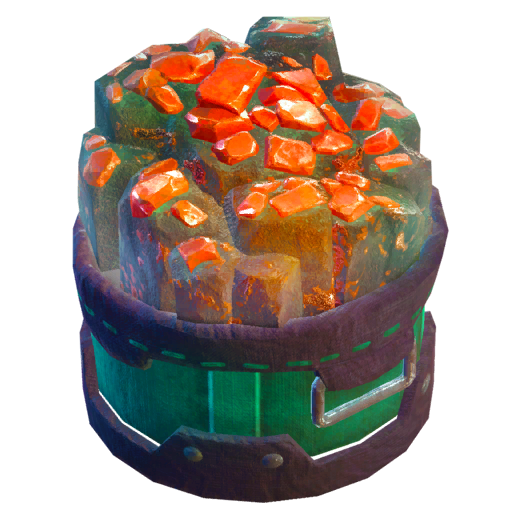 Verfeinerter Kupferbrocken
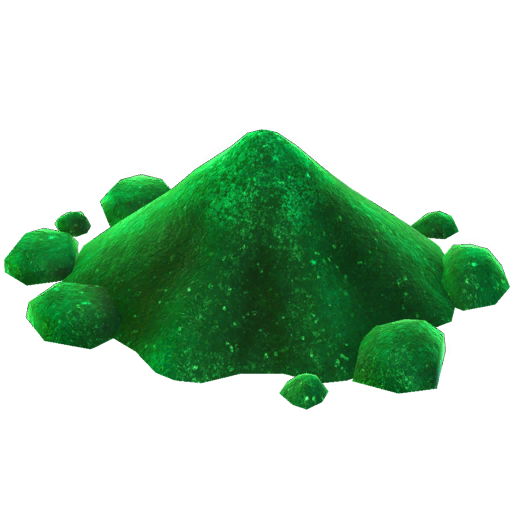 Atlantum Pulver
 Atlantumhaltiger Kalkstein
Mark-2 and Power-Issues - Finishing Terminal XRay [Strata 8]
Terminal XRay 4: 50x  KupferplattenIngredients:
2x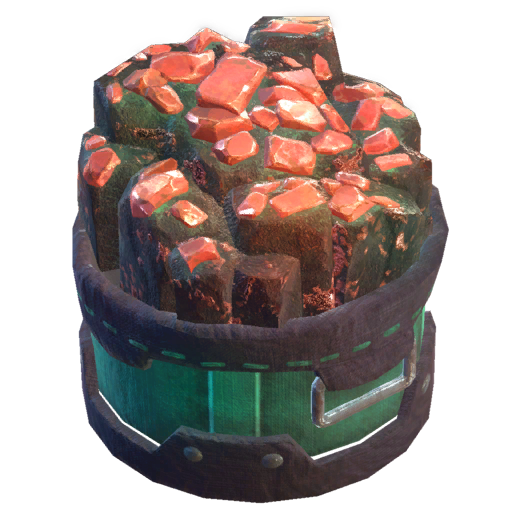 Kupferbrocken
50x EisenplattenIngredients:
2x Eisenbrocken
Terminal XRay 5: 500x KeramikteileIngredients:
10x Ton 5x
 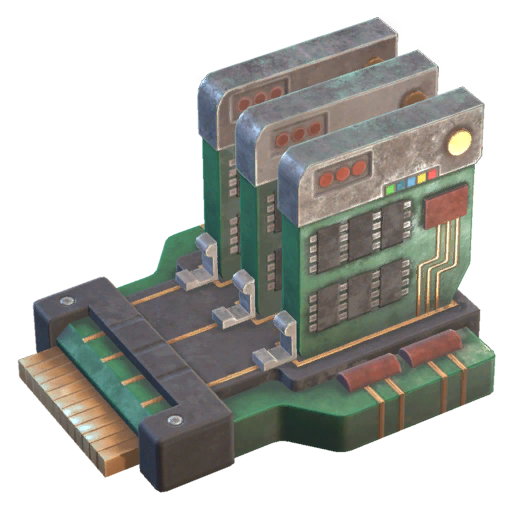 RelaischaltkreisIngredients:
50x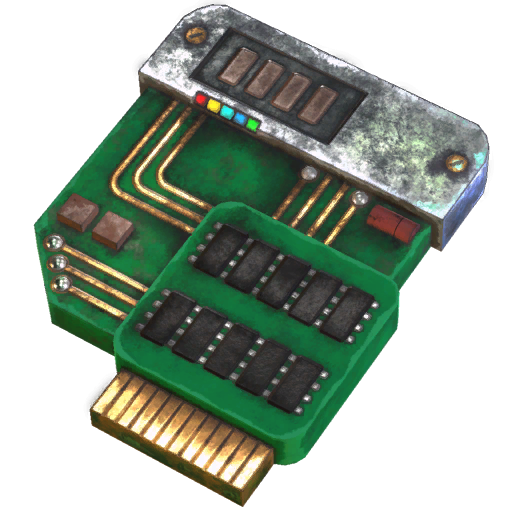 Fortschrittlicher Schaltkreis
Terminal Victor 5: 690x Akkumulator-LadungNo Ingredients 20x  Atlantum-BarrenIngredients:
5x Atlantum-Gemisch
750x Förderband MKIIIngredients:
5x Kupferkomponenten
5x Zitterdornextrakt
10x Förderband
Strata 8 Requirement: 2.324m (+400m), 40x Bohrkopf IIIngredients:
1x Bohrkopf I
2x Rahmen aus Pflanzenmaterial
2x Erzförderer / 16x Bohrkopf IIIIngredients:
1x Bohrkopf II
2x Montagemaschine
4x Kühlsystem / 2x 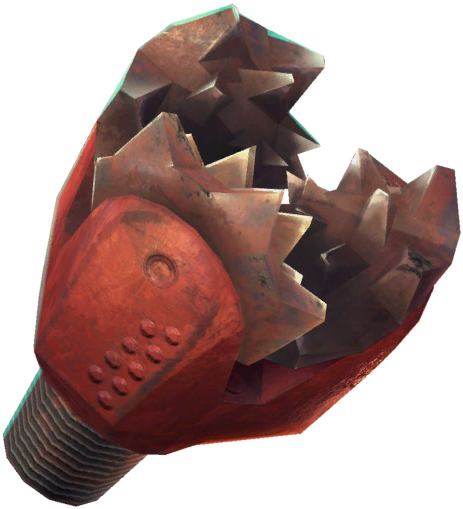 Bohrkopf IVIngredients:
1x Bohrkopf III
2x Akkumulator
12x Atlantum-Barren
KupferplattenIngredients:2x
Kupferbrocken50x
EisenplattenIngredients:2x
EisenbrockenTerminal XRay 5: 500x
KeramikteileIngredients:10x
Ton 5x RelaischaltkreisIngredients:50x
Fortschrittlicher SchaltkreisTerminal Victor 5: 690x
Akkumulator-LadungNo Ingredients 20x Atlantum-BarrenIngredients:5x
Atlantum-Gemisch750x
Förderband MKIIIngredients:5x
Kupferkomponenten5x
Zitterdornextrakt10x
FörderbandStrata 8 Requirement: 2.324m (+400m), 40x
Bohrkopf IIIngredients:1x
Bohrkopf I2x
Rahmen aus Pflanzenmaterial2x
Erzförderer / 16x Bohrkopf IIIIngredients:1x
Bohrkopf II2x
Montagemaschine4x
Kühlsystem / 2x Bohrkopf IVIngredients:1x
Bohrkopf III2x
Akkumulator12x
Atlantum-Barren
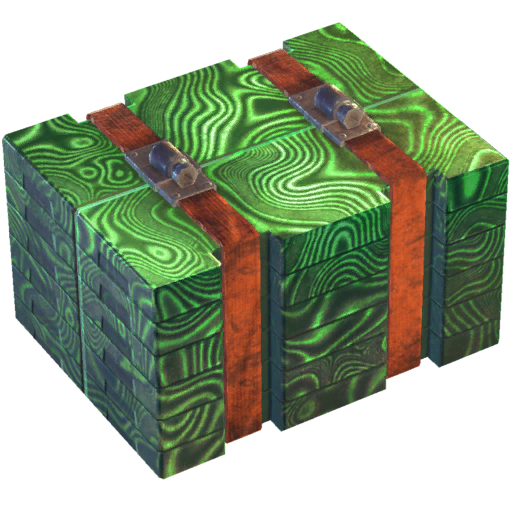
| 6.1 content_copy |
Terminal XRay will also unlock RelaischaltkreisIngredients: 50x Fortschrittlicher Schaltkreiss. These are required for Mk II machines and these are very powerful upgrades too (note you need to progress to Strata 8 to unlock most of these). 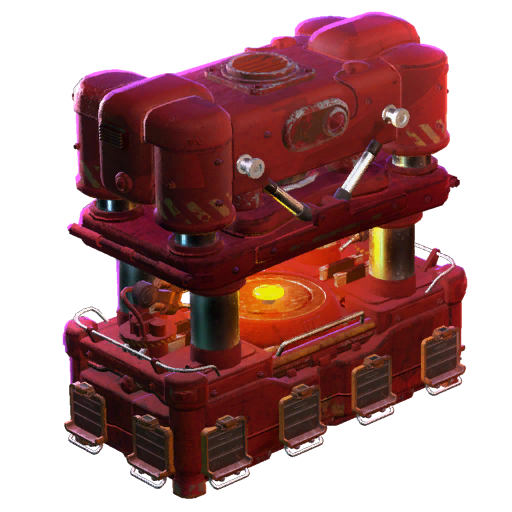 Montagemaschine MKIIIngredients: Montagemaschine MKIIIngredients:2x 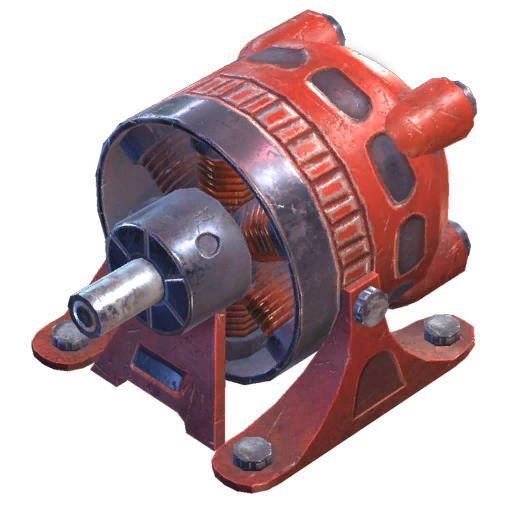 Elektromotor Elektromotor2x Relaischaltkreis2x Montagemaschines have double the productivity of MontagemaschineIngredients:2x Eisenrahmen2x Greifarms meaning overall you produce four times as many items as you would by hand so you will want to switch as many MontagemaschineIngredients:2x Eisenrahmen2x Greifarms over as possible.
|
 Click Image to enlarge |
| 6.2 content_copy |
These machines will come with a huge power spike for your grid but luckily the 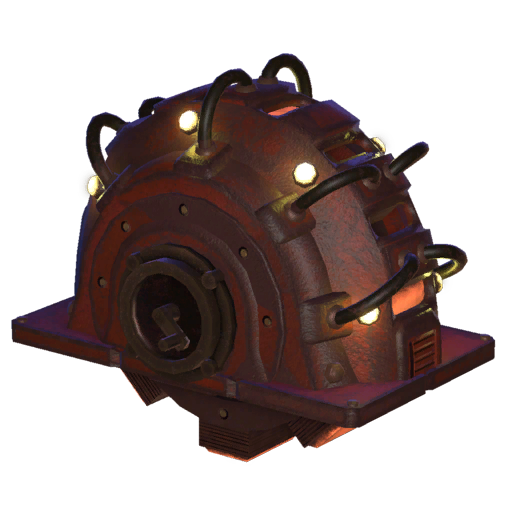 Kurbelgenerator MKIIIngredients: Kurbelgenerator MKIIIngredients:2x Relaischaltkreis4x Elektromotor8x Kurbelgenerator uses the exact same amount of torque as the KurbelgeneratorIngredients:4x Elektrische Bauteile8x Kupferkomponenten.This means you can just replace each KurbelgeneratorIngredients:4x Elektrische Bauteile8x Kupferkomponenten and your power network will grow enough to support your new high powered machinery.The 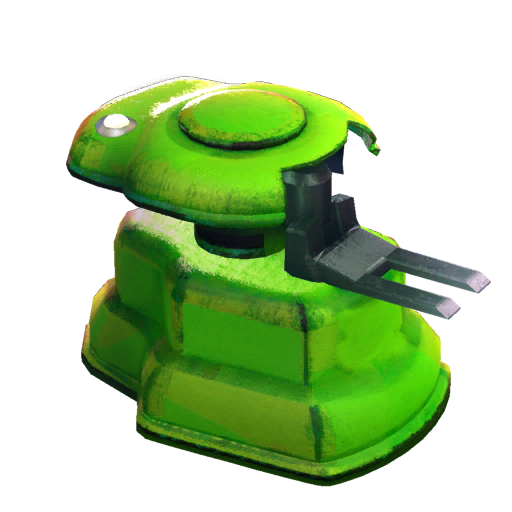 StapelgreifarmIngredients: StapelgreifarmIngredients:4x Elektromotor8x Schneller Greifarms will be a very big upgrade allowing you to keep up with the increased production.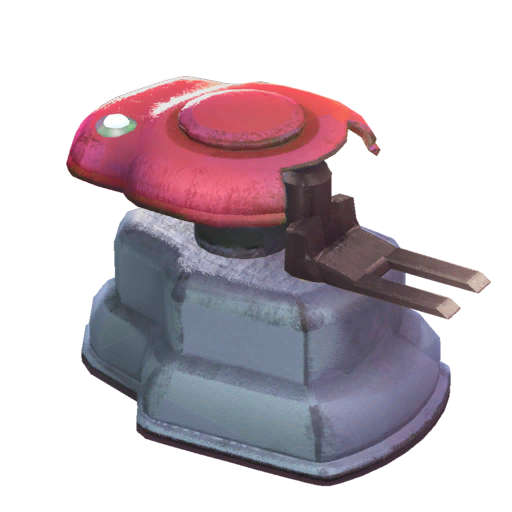 Filternder StapelgreifarmNo Ingredientss are very useful if you have a high throughput in your elevator or for Filternder StapelgreifarmNo Ingredientss are very useful if you have a high throughput in your elevator or for 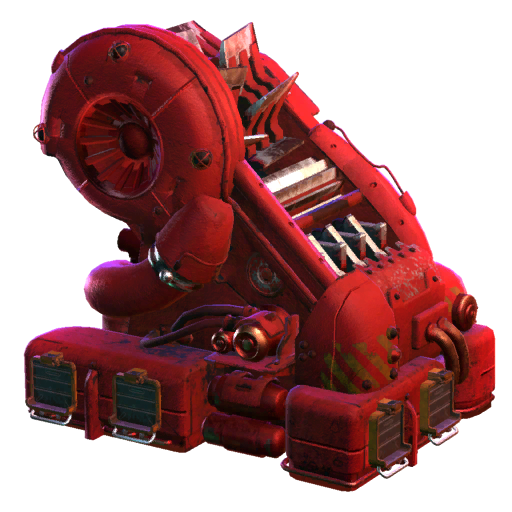 Drescher MKIIIngredients: Drescher MKIIIngredients:2x Elektromotor2x Relaischaltkreis4x Drescher which you unlock at Strata 11.
|
|
| 6.3 content_copy |
Most of the MKII-Machines are unlocked in Strata 8 - The Research Facility. Therefore don't stop creating Excavator-Bits and unlocking new Stratas. If you're getting stuck entering the Research-Facility  Door RD-3215Requirement: Door RD-3215Requirement:1x Vorbedingung: Paladin öffnet die Tür und sendet ein Signal nachdem sein Würfel aufgesammelt wurde. you should follow the Main-Story to unlock Paladin inside the Excalibur, he will open the Research-Door for you. Also keep in mind to have a look for the Bohrkopf IVIngredients:1x Bohrkopf III2x Akkumulator12x Atlantum-Barren which is also present inside the Excalibur.
|
The Elevator & Main-Story - Finishing Terminal Victor [Strata 11]
Terminal Victor 6: 1250x Akkumulator-LadungNo Ingredients 15x Fortschrittlicher SchaltkreisIngredients:
2x Kühlsystem
2x Prozessoreinheit
4x Atlantum-Barren
750x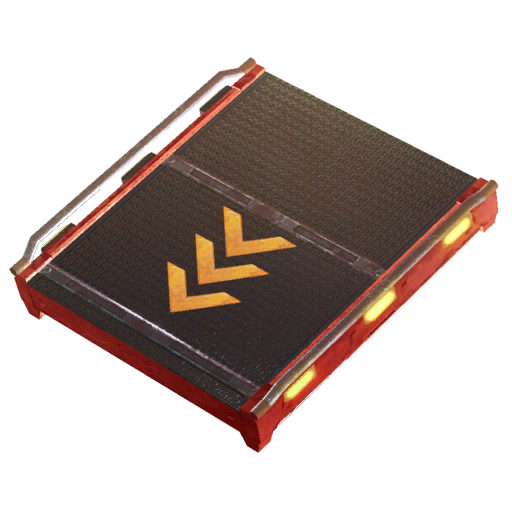 Förderband MKIIIIngredients:
1x Elektromotor
10x Atlantum-Barren
10x Förderband MKII
Terminal Victor 7: 1950x Akkumulator-LadungNo Ingredients 5x Montagemaschine MKIIIngredients:
2x Elektromotor
2x Relaischaltkreis
2x Montagemaschine 10x RelaischaltkreisIngredients:
50x Fortschrittlicher Schaltkreis
Strata 9 Requirement: 4.324m (+2.000m), 200x Bohrkopf IIIngredients:
1x Bohrkopf I
2x Rahmen aus Pflanzenmaterial
2x Erzförderer / 80x Bohrkopf IIIIngredients:
1x Bohrkopf II
2x Montagemaschine
4x Kühlsystem / 8x Bohrkopf IVIngredients:
1x Bohrkopf III
2x Akkumulator
12x Atlantum-Barren
Strata 10 Requirement: 9.324m (+5.000m), 500x Bohrkopf IIIngredients:
1x Bohrkopf I
2x Rahmen aus Pflanzenmaterial
2x Erzförderer / 200x Bohrkopf IIIIngredients:
1x Bohrkopf II
2x Montagemaschine
4x Kühlsystem / 20x Bohrkopf IVIngredients:
1x Bohrkopf III
2x Akkumulator
12x Atlantum-Barren
Strata 11 Requirement: 16.324m (+7.000m), 700x Bohrkopf IIIngredients:
1x Bohrkopf I
2x Rahmen aus Pflanzenmaterial
2x Erzförderer / 280x Bohrkopf IIIIngredients:
1x Bohrkopf II
2x Montagemaschine
4x Kühlsystem / 28x Bohrkopf IVIngredients:
1x Bohrkopf III
2x Akkumulator
12x Atlantum-Barren
Strata 12 Requirement: 38.624m (+22.300m), 30x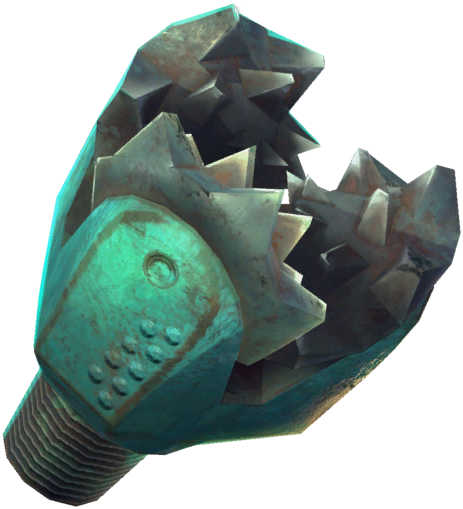 Bohrkopf VIngredients:
1x Bohrkopf IV
4x Drescher MKII
20x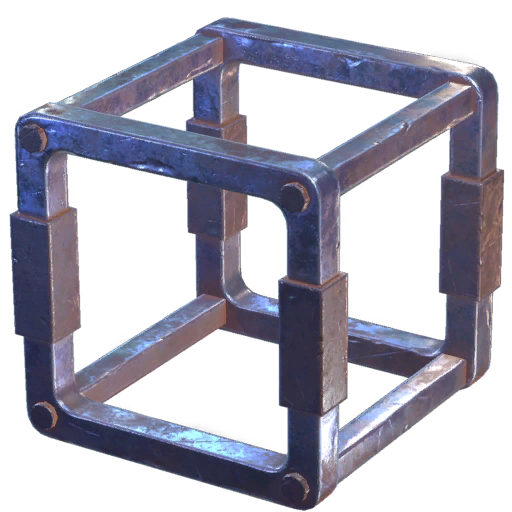 Stahlrahmen
Akkumulator-LadungNo Ingredients 15x Fortschrittlicher SchaltkreisIngredients:2x
Kühlsystem2x
Prozessoreinheit4x
Atlantum-Barren750x
Förderband MKIIIIngredients:1x
Elektromotor10x
Atlantum-Barren10x
Förderband MKII Terminal Victor 7: 1950x
Akkumulator-LadungNo Ingredients 5x Montagemaschine MKIIIngredients:2x
Elektromotor2x
Relaischaltkreis2x
Montagemaschine 10x RelaischaltkreisIngredients:50x
Fortschrittlicher SchaltkreisStrata 9 Requirement: 4.324m (+2.000m), 200x
Bohrkopf IIIngredients:1x
Bohrkopf I2x
Rahmen aus Pflanzenmaterial2x
Erzförderer / 80x Bohrkopf IIIIngredients:1x
Bohrkopf II2x
Montagemaschine4x
Kühlsystem / 8x Bohrkopf IVIngredients:1x
Bohrkopf III2x
Akkumulator12x
Atlantum-BarrenStrata 10 Requirement: 9.324m (+5.000m), 500x
Bohrkopf IIIngredients:1x
Bohrkopf I2x
Rahmen aus Pflanzenmaterial2x
Erzförderer / 200x Bohrkopf IIIIngredients:1x
Bohrkopf II2x
Montagemaschine4x
Kühlsystem / 20x Bohrkopf IVIngredients:1x
Bohrkopf III2x
Akkumulator12x
Atlantum-BarrenStrata 11 Requirement: 16.324m (+7.000m), 700x
Bohrkopf IIIngredients:1x
Bohrkopf I2x
Rahmen aus Pflanzenmaterial2x
Erzförderer / 280x Bohrkopf IIIIngredients:1x
Bohrkopf II2x
Montagemaschine4x
Kühlsystem / 28x Bohrkopf IVIngredients:1x
Bohrkopf III2x
Akkumulator12x
Atlantum-BarrenStrata 12 Requirement: 38.624m (+22.300m), 30x
Bohrkopf VIngredients:1x
Bohrkopf IV4x
Drescher MKII20x
Stahlrahmen
| 7.1 content_copy |
After solving the power spike, you should return to focusing on the elevator (which you will have been doing anyway to unlock some of the Mk II components). Ensure you upgrade your drill bit production as soon as possible to the latest tiers as the requirements will start forcing you to only use those higher tiers. |
 Click Image to enlarge |
| 7.2 content_copy |
Eventually you will reach Strata 11 and oops - you can't dig any further up. Follow the quest-line and make sure you unlock/automate Bohrkopf VIngredients:1x Bohrkopf IV4x Drescher MKII20x Stahlrahmen as soon as you unlock them.You should also now complete the TAP wire quest-line if you haven't done so already. |
|
| 7.3 content_copy |
Once you complete the Victor- and Tap-Wire-objectives and use the Bohrkopf VIngredients: 1x Bohrkopf IV4x Drescher MKII20x Stahlrahmens to dig up, you will be in the new biome - Production Terminal Sierra!
|
A whole new World - Terminal Sierra [Strata 12]
This is where the game begins to truly get serious.
If you want to figure out the challenges for yourself (and I do recommend you try this) then this is the spoiler warning before I reveal the solutions.
If you want to figure out the challenges for yourself (and I do recommend you try this) then this is the spoiler warning before I reveal the solutions.
Seriously - A whole new World - Terminal Sierra [Strata 12]
Terminal Sierra 1: 10x 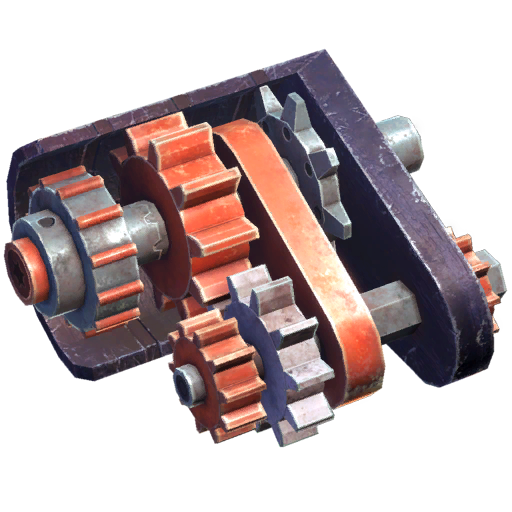 GetriebeIngredients:
100x Mechanische Bauteile
15x WasserradIngredients:
2x Zitterdornextrakt
8x Eisenrahmen
32x Mechanische Bauteile
Terminal Sierra 2: 15x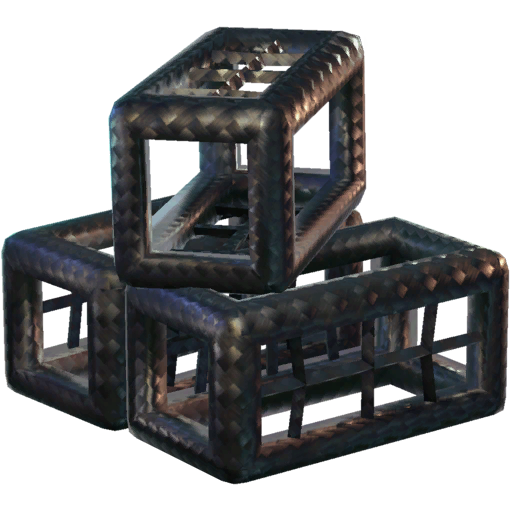 KohlenstoffrahmenIngredients:
4x Stahlrahmen
6x Kohlepulver-Ziegel
8x Kupferrahmen
50x GlasIngredients:
60x Sand
Sand
Strata 13 Requirement: 68.324m (+30.000m), 40x Bohrkopf VIngredients:
1x Bohrkopf IV
4x Drescher MKII
20x Stahlrahmen / 24x  Bohrkopf VIIngredients:
1x Bohrkopf V
4x Antrieb
100x Kohlenstoffrahmen
GetriebeIngredients:100x
Mechanische Bauteile15x
WasserradIngredients:2x
Zitterdornextrakt8x
Eisenrahmen32x
Mechanische Bauteile Terminal Sierra 2: 15x
KohlenstoffrahmenIngredients:4x
Stahlrahmen6x
Kohlepulver-Ziegel8x
Kupferrahmen50x
GlasIngredients:60x
SandStrata 13 Requirement: 68.324m (+30.000m), 40x
Bohrkopf VIngredients:1x
Bohrkopf IV4x
Drescher MKII20x
Stahlrahmen / 24x Bohrkopf VIIngredients:1x
Bohrkopf V4x
Antrieb100x
Kohlenstoffrahmen
 Sesamit-Sand
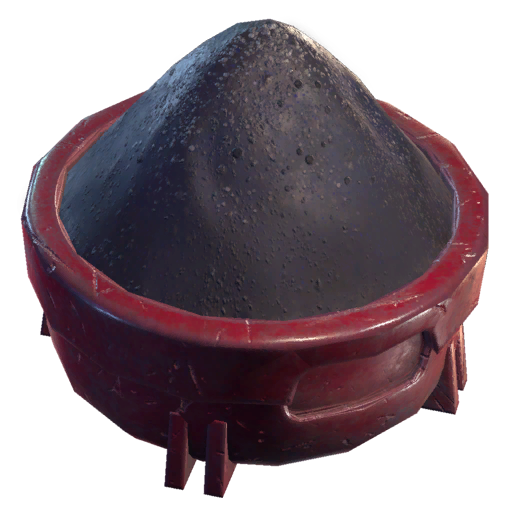 Kohlepulver
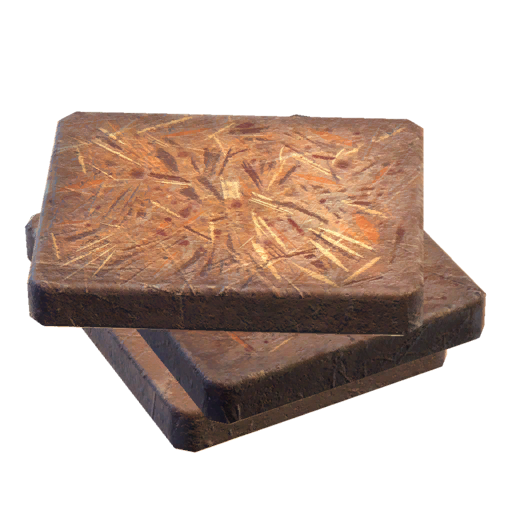 Pflanzenfaser-Ziegel
 HVC-Länge IV
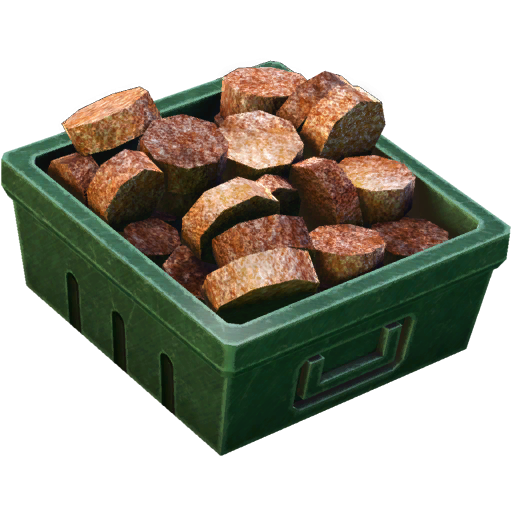 Biobrennstoff
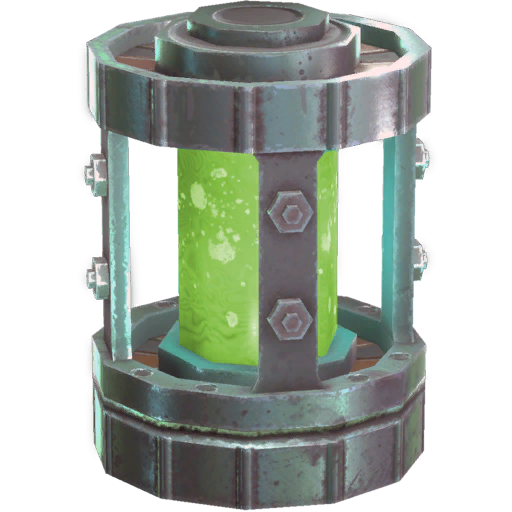 Bio-Diesel (unraffiniert)
 Zitterdorn-Kühlmittel
 Sesamit Gel
 Zitterdorn-Gel
 Sesamit-Kühlmittel
 Eisenmechnismus
Having a crush on.... - The Archive [Strata 13]
Terminal Sierra 3: 10x 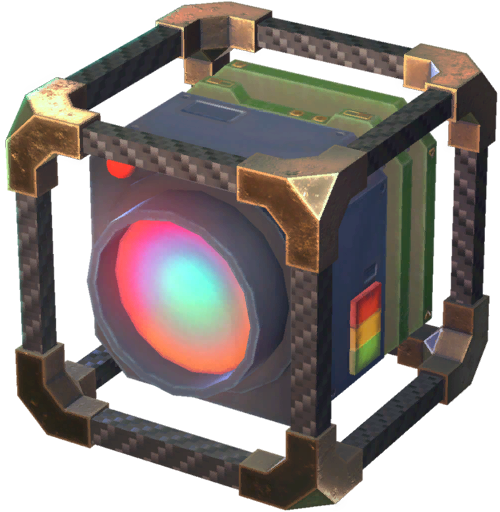 SensorblockIngredients:
8x Relaischaltkreis
18x Kohlenstoffrahmen
45x Glas 5x 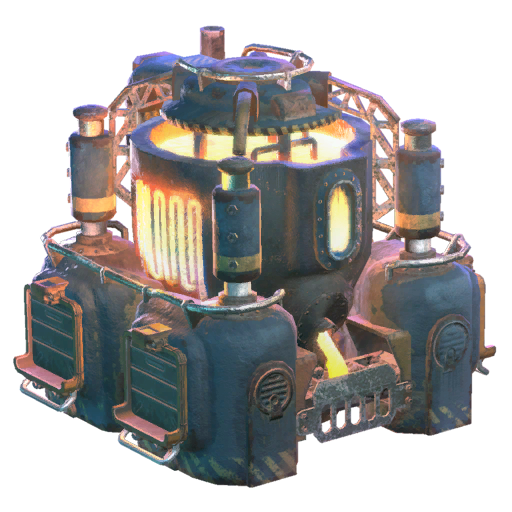 Schmelzofen MKIIIIngredients:
4x Schmelzofen MKII
24x Keramikfliesen
60x Sensorblock
Terminal Sierra 4: 2x ZerkleinererIngredients:
3x Antrieb
4x Drescher MKII
12x Sensorblock 200x 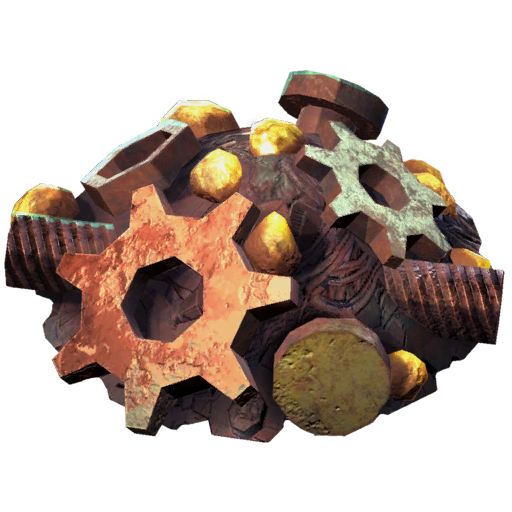 SchrotterzIngredients:
1x Komprimiertes Schrotterz
Strata 14 Requirement: 98.324m (+30.000m), 40x Bohrkopf VIngredients:
1x Bohrkopf IV
4x Drescher MKII
20x Stahlrahmen / 24x Bohrkopf VIIngredients:
1x Bohrkopf V
4x Antrieb
100x Kohlenstoffrahmen
SensorblockIngredients:8x
Relaischaltkreis18x
Kohlenstoffrahmen45x
Glas 5x Schmelzofen MKIIIIngredients:4x
Schmelzofen MKII24x
Keramikfliesen60x
Sensorblock Terminal Sierra 4: 2x
ZerkleinererIngredients:3x
Antrieb4x
Drescher MKII12x
Sensorblock 200x SchrotterzIngredients:1x
Komprimiertes Schrotterz Strata 14 Requirement: 98.324m (+30.000m), 40x
Bohrkopf VIngredients:1x
Bohrkopf IV4x
Drescher MKII20x
Stahlrahmen / 24x Bohrkopf VIIngredients:1x
Bohrkopf V4x
Antrieb100x
Kohlenstoffrahmen

 Atlantumplatten
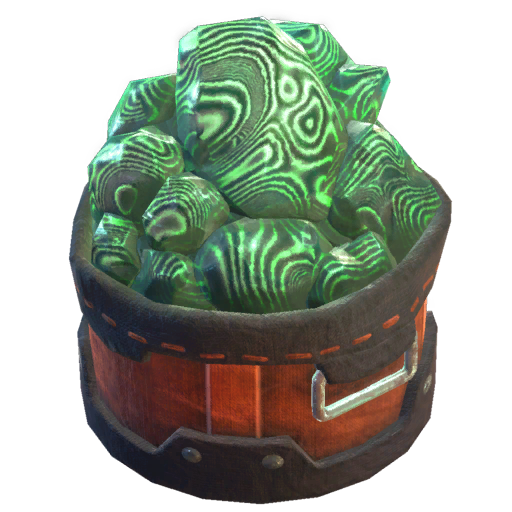 Atlantumbrocken
 Forschungskern 480mm (blau)
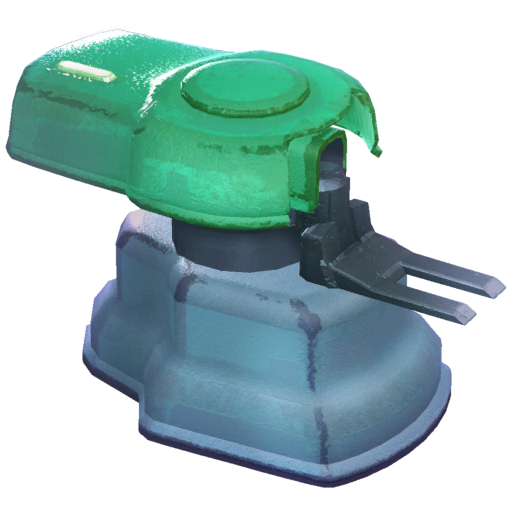 Kurbelverbindung
 Bio-Diesel (veredelt)
Show what you can - The Laboratory [Strata 14]
Terminal Sierra 5: 20x Komprimiertes SchrotterzNo Ingredients 50x  Sesamite-PulverIngredients:
12x Sesamite-Pulver
36x Zündrebenextrakt
Terminal Sierra 6: 20x GolderzIngredients:
120x Zitterdornextrakt
250x Schrotterz
5x Pflanzer MKIINo Ingredients
Strata 15 Requirement: 298.324m (+200.000m), 160x Bohrkopf VIIngredients:
1x Bohrkopf V
4x Antrieb
100x Kohlenstoffrahmen
Komprimiertes SchrotterzNo Ingredients 50x Sesamite-PulverIngredients:12x
Sesamite-Pulver36x
ZündrebenextraktTerminal Sierra 6: 20x
GolderzIngredients:120x
Zitterdornextrakt250x
Schrotterz5x
Pflanzer MKIINo Ingredients Strata 15 Requirement: 298.324m (+200.000m), 160x
Bohrkopf VIIngredients:1x
Bohrkopf V4x
Antrieb100x
Kohlenstoffrahmen

 Sesamit-Samen
 Universelle Samenkapsel
 Instabile Samenkapsel
 Sesamit-Stängel
On the home straight - Mech and ??? [Strata 15]
Terminal Sierra 7: 20x  Gold-BarrenIngredients:
2x Golderz
200x Sesamite-BarrenIngredients:
3x Sesamit-Kristall
Terminal Sierra 8: 2000x Gold-BarrenIngredients:
2x Golderz
500x Sesamite-BarrenIngredients:
3x Sesamit-Kristall
Terminal ???: 1000x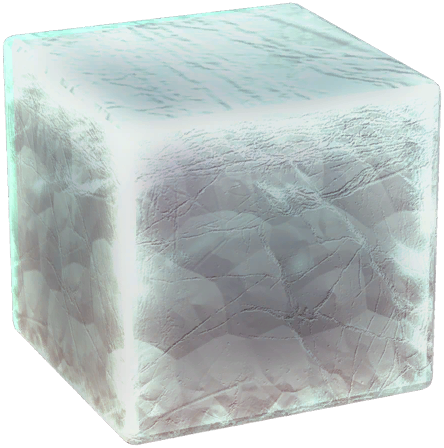 Spektraler Würfel (Farblos)Ingredients:
4x Sesamite-Barren
16x Verstärkter Eisen-Rahmen
32x Kohlenstoffrahmen
Strata 16 Requirement: 798.324m (+500.000m), 200x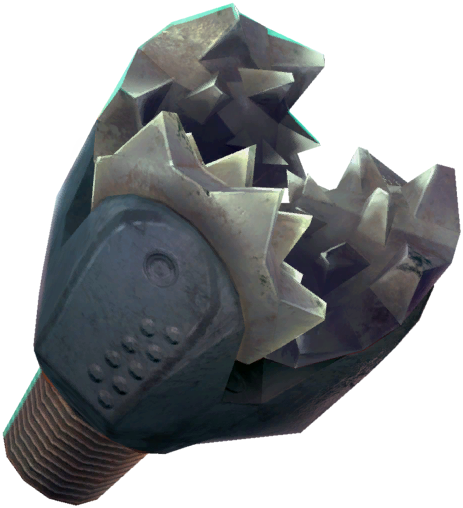 Kalzit-RückbauIngredients:
1x Bohrkopf VI
20x Sesamite-Barren
32x Sensorblock
Gold-BarrenIngredients:2x
Golderz200x
Sesamite-BarrenIngredients:3x
Sesamit-Kristall Terminal Sierra 8: 2000x
Gold-BarrenIngredients:2x
Golderz500x
Sesamite-BarrenIngredients:3x
Sesamit-Kristall Terminal ???: 1000x
Spektraler Würfel (Farblos)Ingredients:4x
Sesamite-Barren16x
Verstärkter Eisen-Rahmen32x
Kohlenstoffrahmen Strata 16 Requirement: 798.324m (+500.000m), 200x
Kalzit-RückbauIngredients:1x
Bohrkopf VI20x
Sesamite-Barren32x
Sensorblock
| 11.1 content_copy |
To reach Strata 16 you need the final tier of Kalzit-RückbauIngredients: 1x Bohrkopf VI20x Sesamite-Barren32x Sensorblock, located in Strata 15,but hey - you've done it so far, that shouldn't be a problem. Just relax and let your factory do the rest. |
 Click Image to enlarge |
| 11.2 content_copy |
These are the key loops you will need to progress through all Sierra Stratas and into the endgame. Eventually, you will unlock core clustering. Every unused 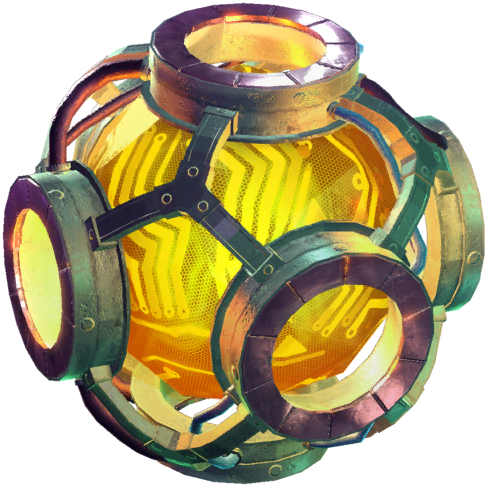 Golderz-GewinnungIngredients: Golderz-GewinnungIngredients:10x Gold-Barren10x Sesamite-Barren12x 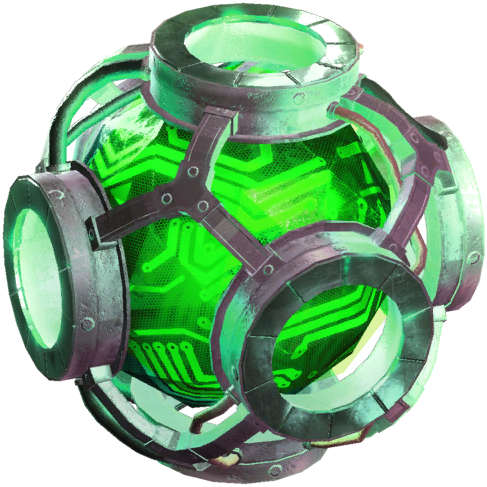 Zerkleinerstärke+ placed in the KernplatziererIngredients: Zerkleinerstärke+ placed in the KernplatziererIngredients:10x Mechanische Bauteile20x Eisenrahmen50x Elektrische Bauteile will contribute towards 1 core cluster and each core cluster provides an (additive) percentage boost to your production.The rest I will leave to you to figure out and enjoy uncovering the final in game story! |
How to use this game guide / General notes
Fundamentally:
The purpose of this guide is not to give a step by step list of things to do in order to beat the game.
The main purpose is to provide some key goals to work towards, some key calculations that may be useful and a guide on how to use each machine.
Before we begin, here are some key terms and what they mean:
Main Bus:
In electrical circuits a bus is used as the main line where data can be transmitted.
A bus in Techtonica follows a similar principle, this is the main line to transfer all your resources across your factory.
Balancers:
This is a belt set up used to ensure equal resource distribution across each lane.
Mall:
This is a factory set up where you automate every item in the game.
The idea is to visit the "mall" when you need something, kind of like shopping.
Stratas:
Techtonica is a unique factory game in that it not only takes place underground, it also takes place across several levels or "strata" reacheable by usingh the Elevator.
As a result, this guide will be split up into three phases based on the available unlocks and strata.
Gaunter